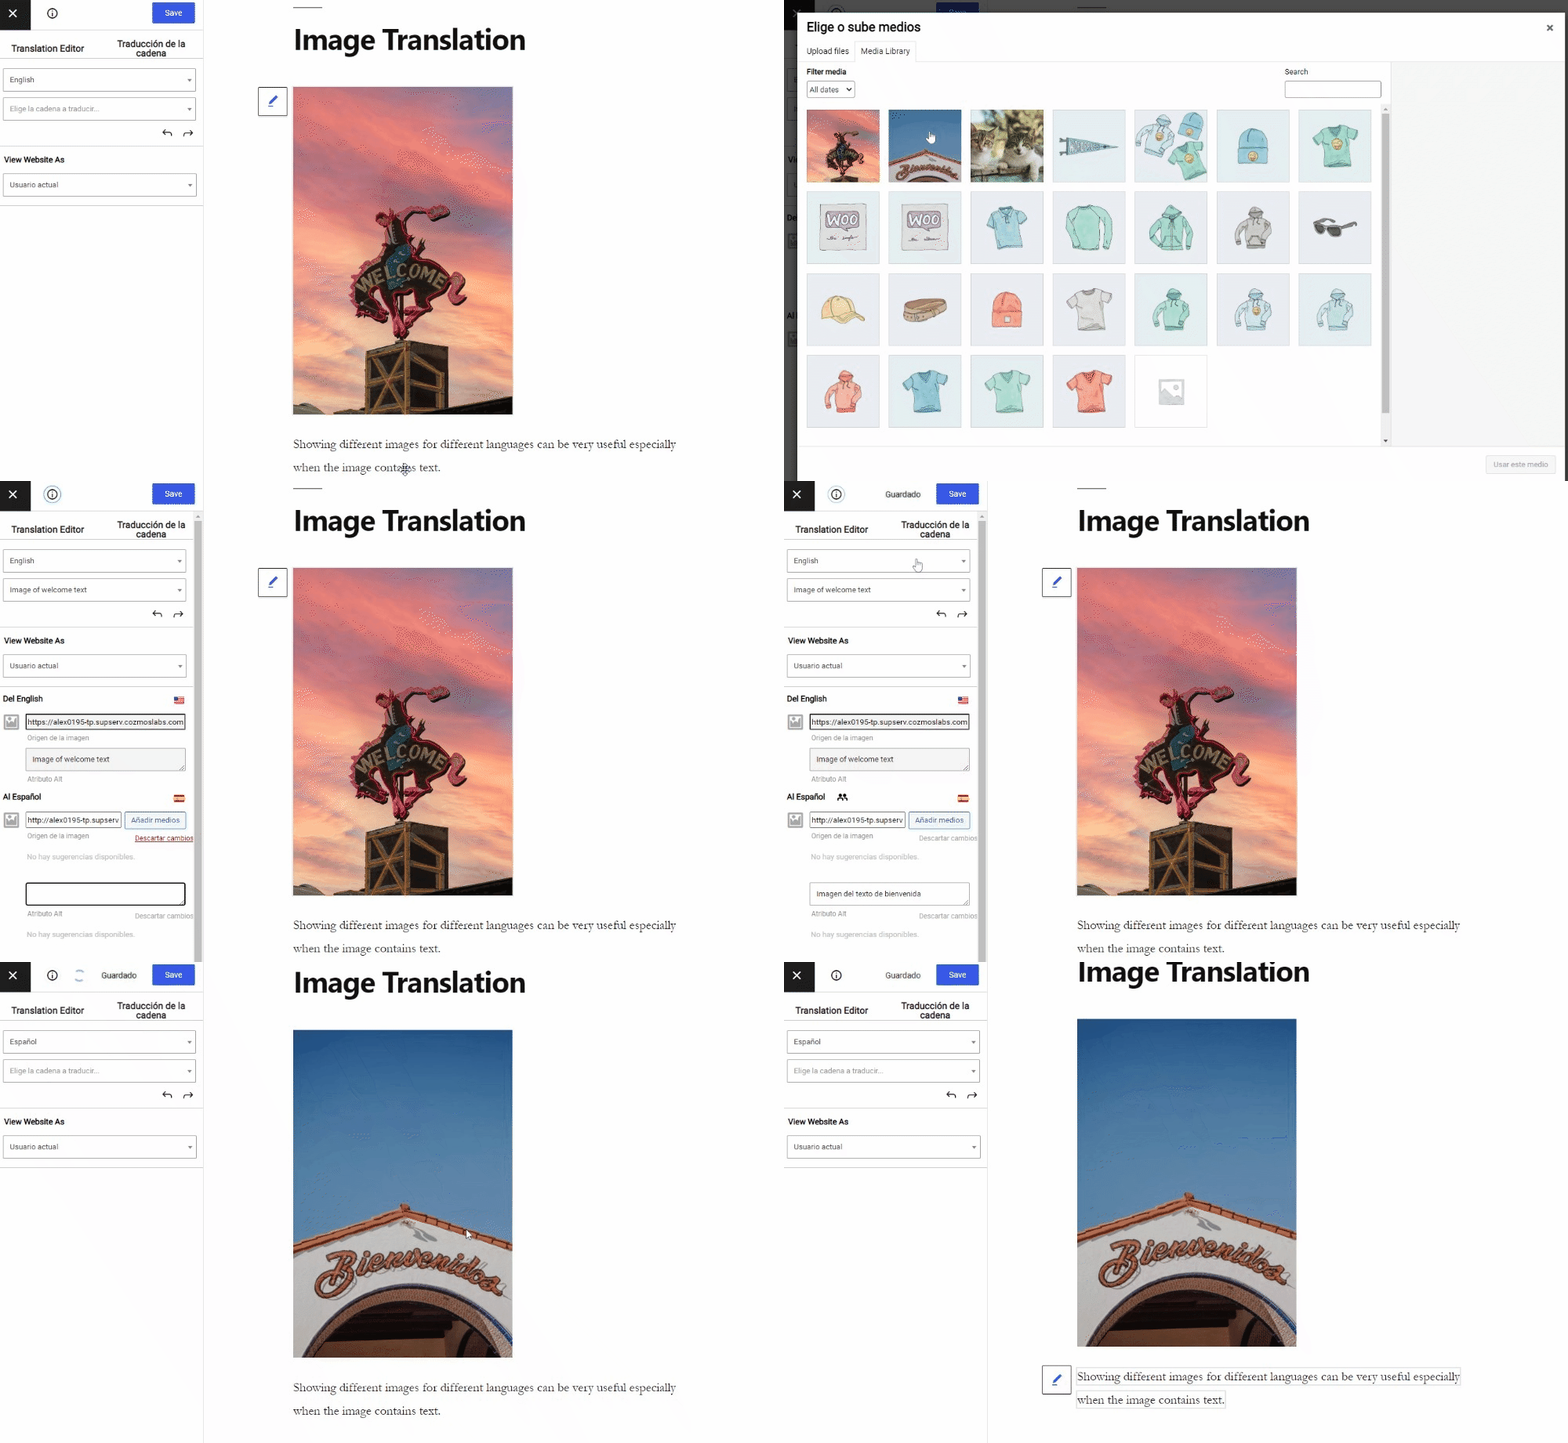
If you are looking to show different images for each language version of your multilingual website, TranslatePress makes it very easy to do image translation yourself.
How image translation with TranslatePress works
Here’s how image translation works when using TranslatePress to translate content on your website:
Display different images based on language
Open the Translation Editor and simply click the  button corresponding to the image you want to translate or select the image by name from the dropdown of strings under the Images option group.
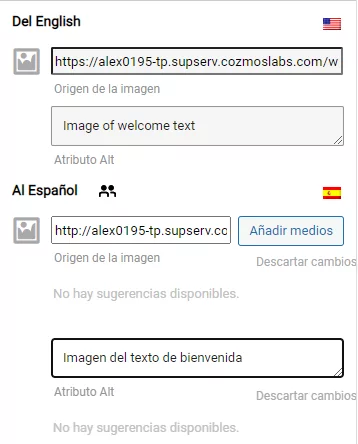
In the left sidebar you can use the Add Media button to upload a new image or select one from the Media library. You can also just type the URL of the translated equivalent of the original image in the text box.
Besides the image source, you can also translate all the existing associated meta information such as the alt attribute and title attribute. If the image is inside an anchor pointing to its larger version of the image, for example, you will be able to translate the href attribute of the anchor.
All the translatable meta information associated with the image will be shown together with the image source in the sidebar.
Note: To translate the alt attribute you will need the SEO Add-on which is only available in the paid versions of the plugin.
Image slider translation
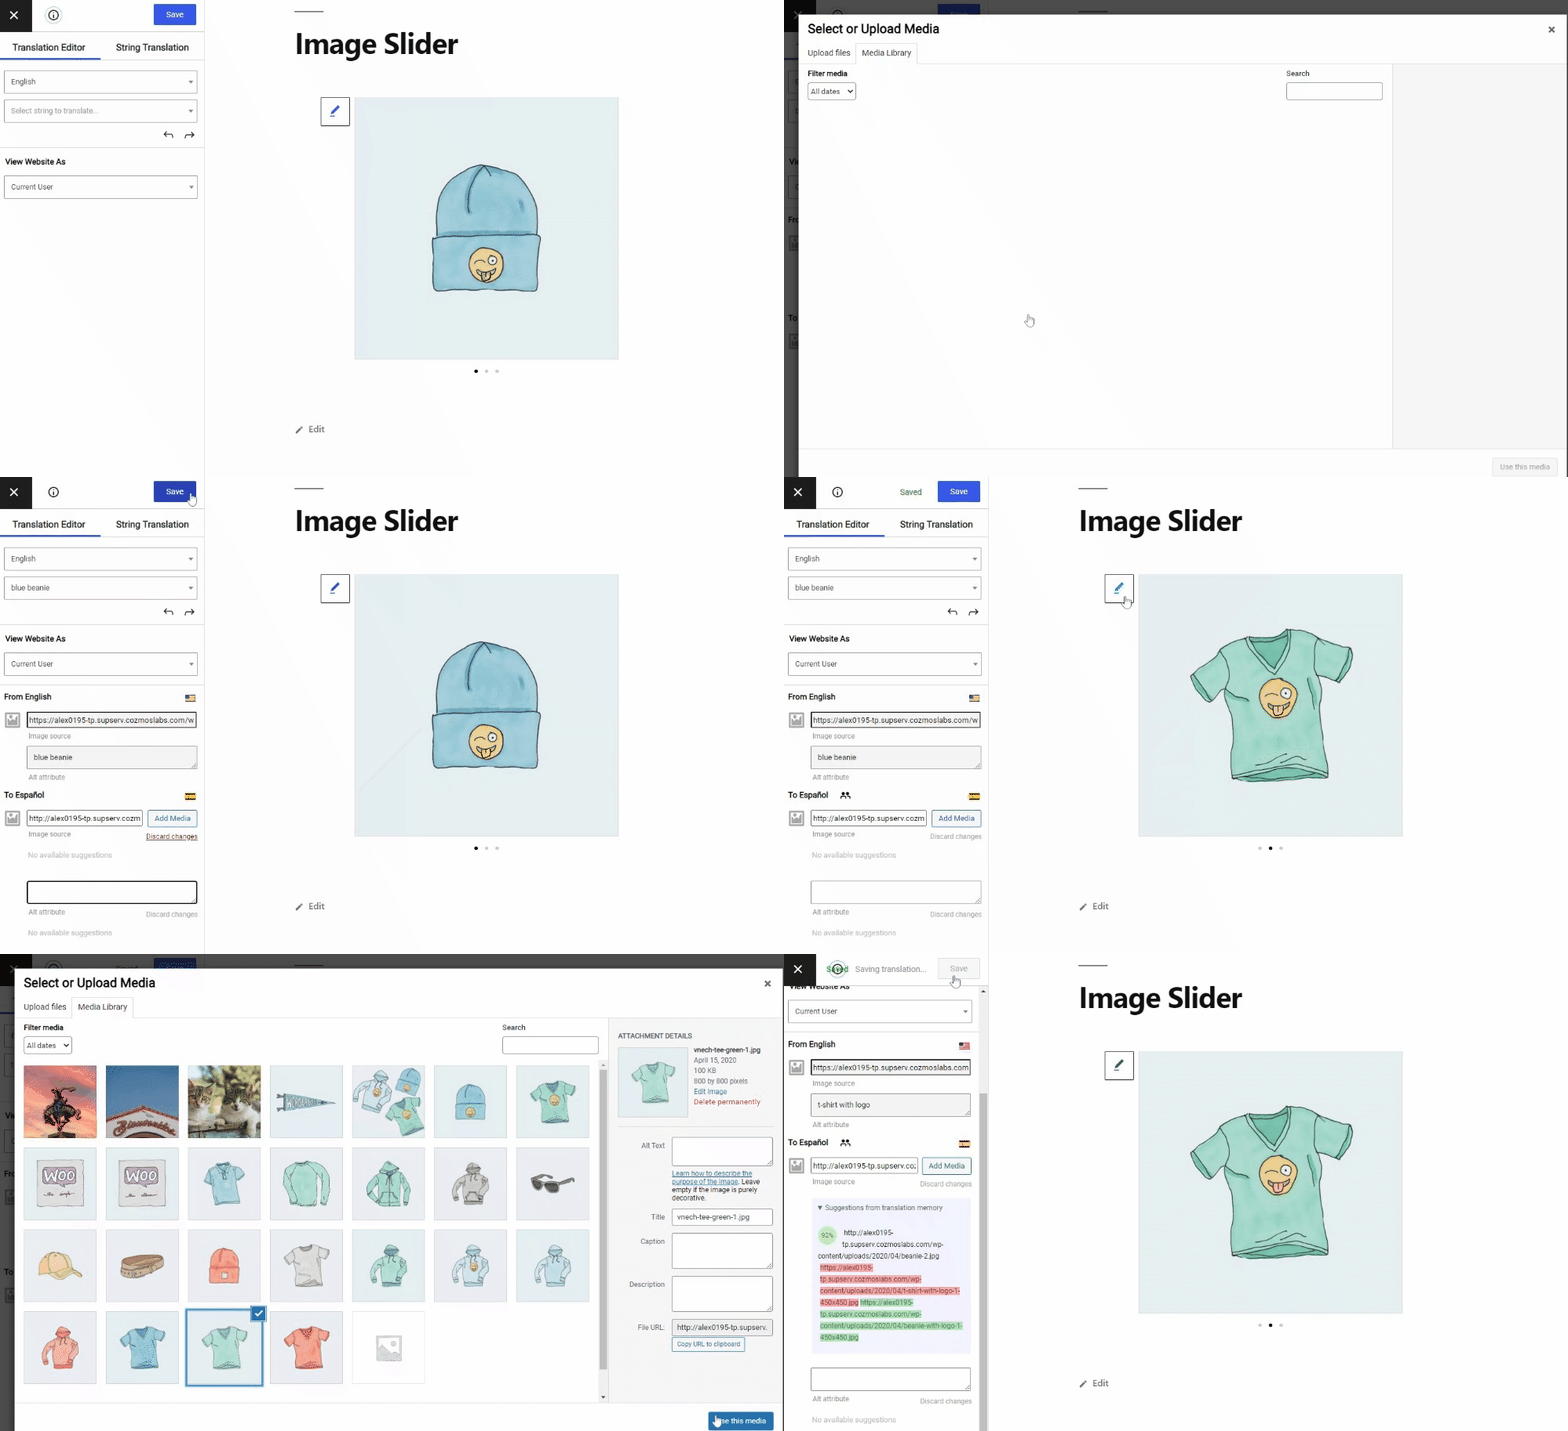
To translate an image slider or an image carousel, you simply need to hover over the images displayed and click  for each image you want to replace when viewing it in a different language.
Translating the alt attribute and all the other meta information can be done from the left sidebar of the Translation Editor.
Note: To translate the alt attribute of each image from the slider, you will need the SEO Add-on which is only available in the paid versions of the plugin.
If your multilingual WordPress site has images containing text, you can find all the steps to load a different version of the original image in each language in the short video below:
Related: For more information, you can also browse our complete guide on How to Translate Images in WordPress.


