
Are you looking to create eye-catching popups and translate them in different languages for your website? Look no further than the Elementor and TranslatePress plugins. With their powerful features and intuitive interfaces, Elementor allows you to design stunning popups that grab your visitors’ attention and drive conversions, while TranslatePress translates the content of these popups from regular text to media files such as images or videos.
In this blog post, we’ll guide you through the steps to set up your first popup using Elementor and Elementor PRO. But that’s not all – we’ll also show you how TranslatePress can be used to translate these popups, making them accessible to a wider audience. So let’s get started!
How to Set Up a Popup Using Elementor PRO and Why?
Popups are a powerful tool for engaging with your website visitors. They can be used to showcase special offers, promote new products or services, collect email addresses for your newsletter, or even encourage social media follows. The possibilities are endless!
When done right, popups can significantly increase your website’s conversion rates. However, it’s important to use them strategically and avoid annoying your visitors with excessive or intrusive popups. With Elementor PRO, you can create stylish and non-intrusive popups that will capture your visitors’ attention without compromising their user experience.
Step 1: Install and Activate Elementor and Elementor PRO
To begin, you’ll need to install and activate the Elementor and Elementor PRO plugins. This premium version of Elementor offers advanced features specifically designed for creating popups. If you haven’t already, head over to the Elementor website and purchase a license for Elementor PRO.
Step 2: Create a New Popup
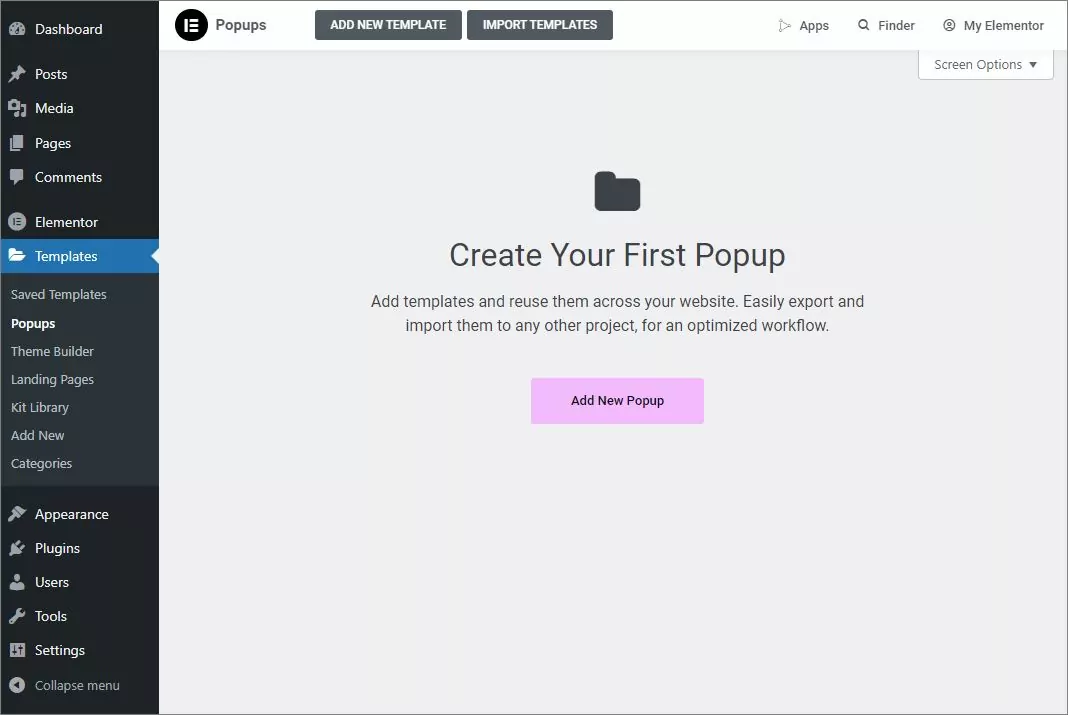
Once you have Elementor PRO installed and activated, go to your WordPress dashboard and click on “Templates” in the Elementor menu. From there, select “Popups” and click on the “Add New” button.
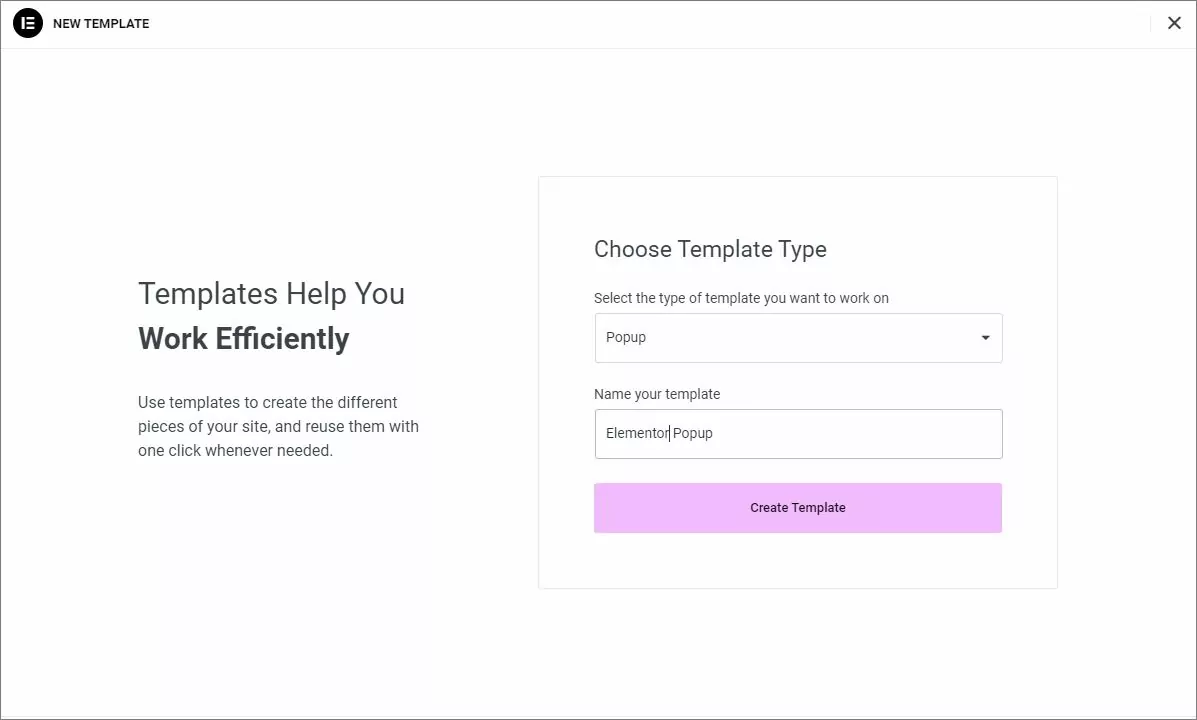
After choosing the template type, you will have to name it. My example I’ve nicknamed “Elementor Popup”, but feel free to choose a name that is convenient for you. Next, you will have to hit Create Template button to go on next step.
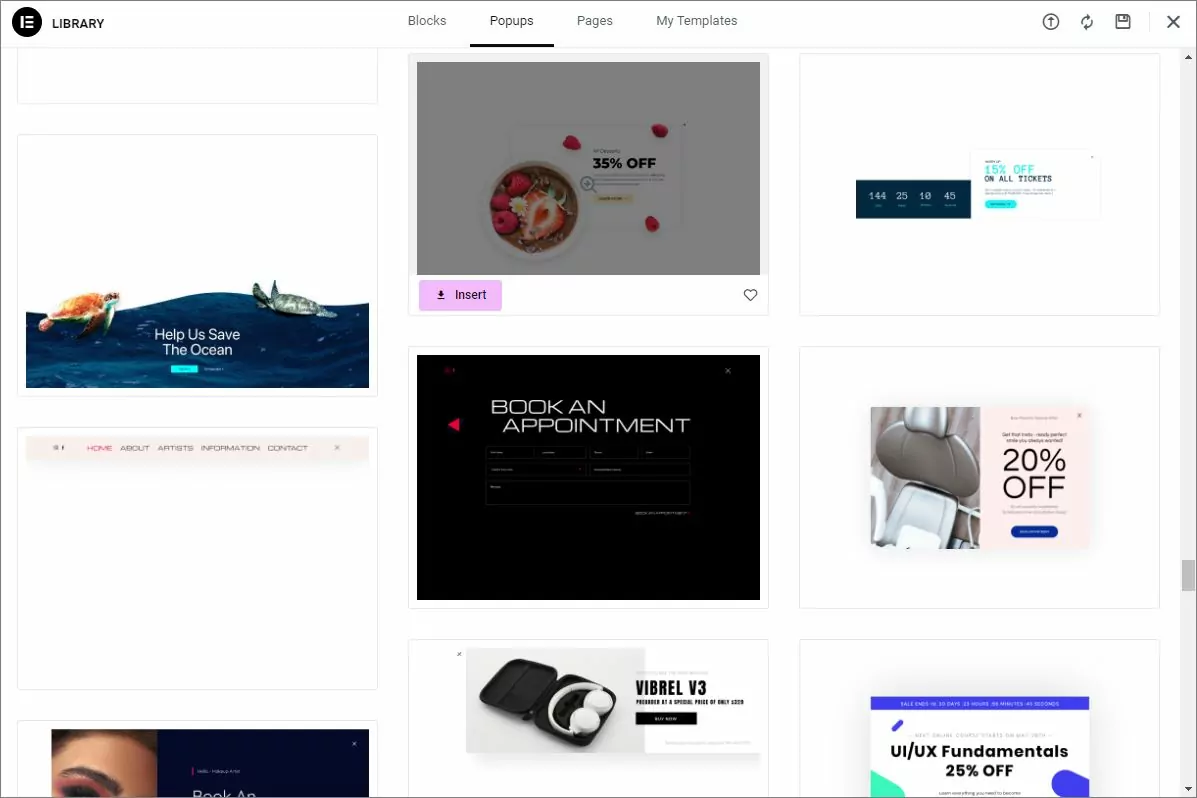
Elementor PRO provides a wide range of pre-designed templates to choose from, so you can easily find one that suits your needs. Alternatively, you can start from scratch and design your popup from a blank canvas.
Step 3: Customize Your Popup
After selecting a template or starting from scratch, you’ll be taken to the Elementor editor. Here, you can customize your popup by adding or removing elements, changing the layout, adjusting colors and fonts, and adding animations and effects.
Elementor PRO offers a powerful drag-and-drop interface, making it easy to create a visually appealing and interactive popup. You can add buttons, forms, images, videos, countdown timers, etc.

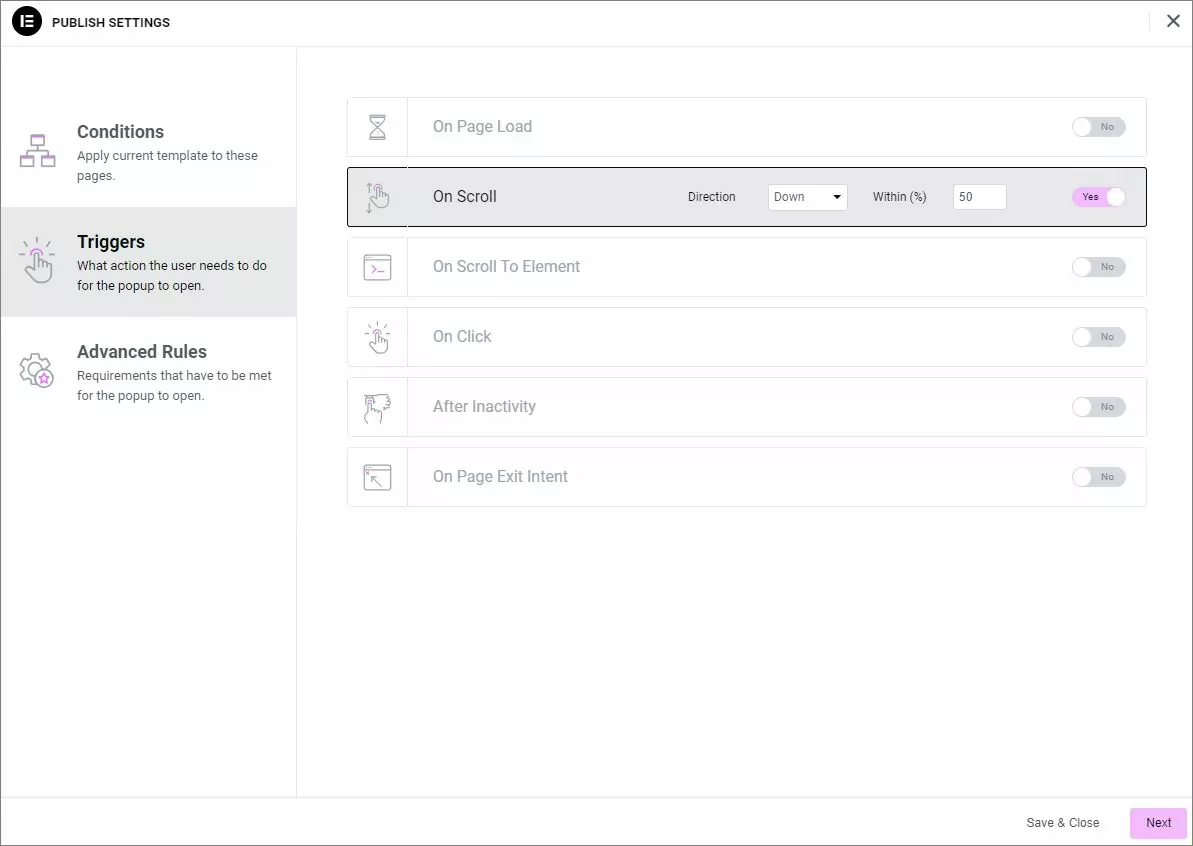
Once you are happy with the design, you can publish the popup. Before publishing, you will be notified to set the popup triggers.
You have control over when and where popups are displayed by using the following options:
- Conditions –> Where to popup
- Triggers –> When to popup based on user-specific actions
- Advanced Rules –> When to popup based on non-user-specific actions
How to Translate the Elementor Popup Using TranslatePress?
The most challenging part is already done. Now, simply proceed with the installation of the TranslatePress plugin. No pro version is required here. TranslatePress can translate Elementor Popups in free version as well. You can just search for it in Dashboard –> Plugins –> Add New Plugin, and click Install Now button.

After the activation, it is necessary to configure the plugin based on the language based of the language of your website content and add the additional one for translation. Be sure you save the changes.

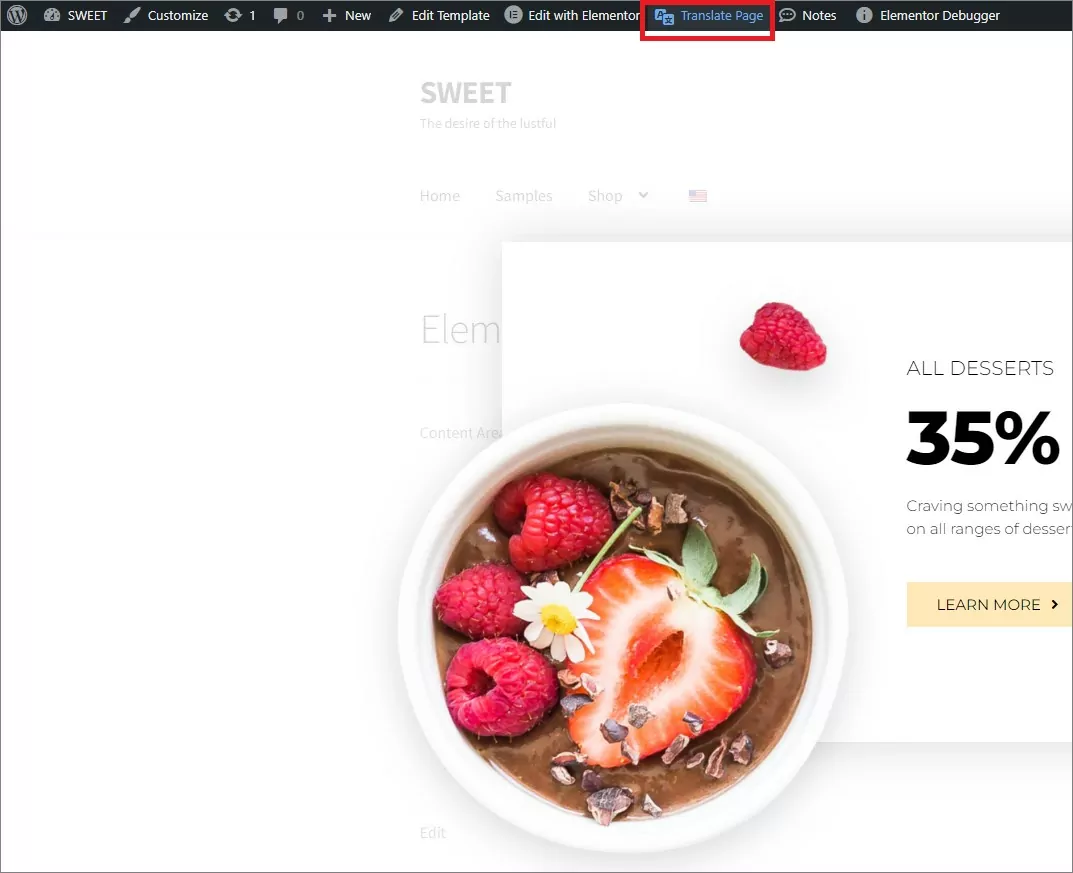
Now, you can access the Elementor created popup, either through the plugin settings, or directly on the front-end using the trigger you set. Once the popup is displayed, you can open the Translation Editor using the Translate Page button from WordPress Toolbar and proceed with the content translation.
To translate the popup content, all you need to do is hover over the element that you want to translate on the visual preview and click the pencil icon. Then, you can edit the translation in the Translation Editor sidebar:
Voila, it’s as easy as that. TranslatePress offers a user-friendly and highly intuitive interface, enabling you to translate content effortlessly by selecting it with the pencil tool. And it’s not limited to text only; you can also translate images using the same approach, and there’s an alternative solution for translating videos as well.