Visual Composer is one of the most popular page builders for WordPress. In this tutorial, we’ll dive into how to translate Visual Composer sites using TranslatePress.
We’ll go through the simple steps required to build a multilingual site using Visual Composer together with TranslatePress.
The two plugins are fully compatible, so you can use TranslatePress to translate any type of element or template available in Visual Composer, directly from the front-end. All using an intuitive visual translation interface.
Creating your website with Visual Composer
Visual Composer has a drag-and-drop visual editor which makes building any page of your website fast and easy, without having to write a single line of code.
It comes in both a free and paid version. The free version offers standard elements for tackling both structure and content of your site. You can easily add rows, and divide them into columns. Then populate them with content in the form of text, images, buttons, menu items, shortcodes & more.
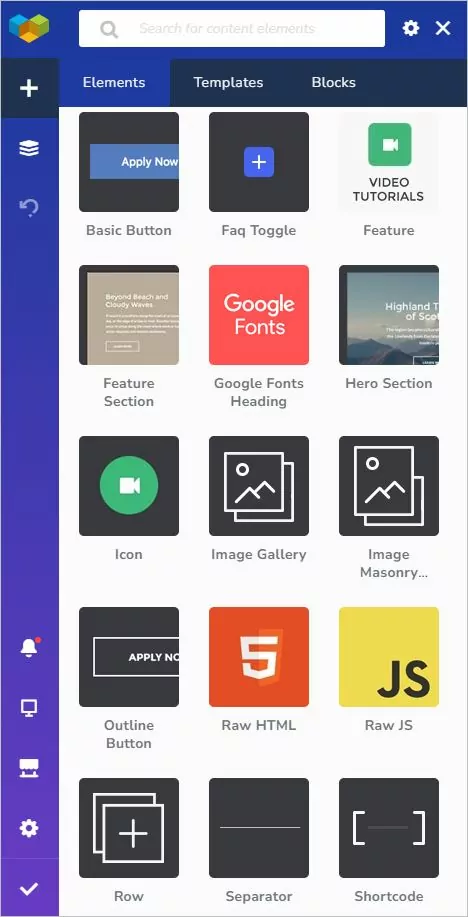
The paid plans give you access to hundreds of premium content elements and pre-designed templates (via the Visual Composer Hub). This can help you speed things up and not have to start from scratch with your site structure and design.
For this tutorial and in order to speed things up, we’ll start by using a pre-defined template that already contains quite a few elements. You can also start from scratch and create something unique for your own website.
Creating our first page with Visual Composer
You can purchase or download Visual Composer for free from their website. Then simply install and activate it just like any other WordPress plugin.
Once it’s activated you can start and create your first page.

You’ll be taken to a front-end visual editor and asked to give your page a name, select a layout, then proceed with adding elements and/or using a template.
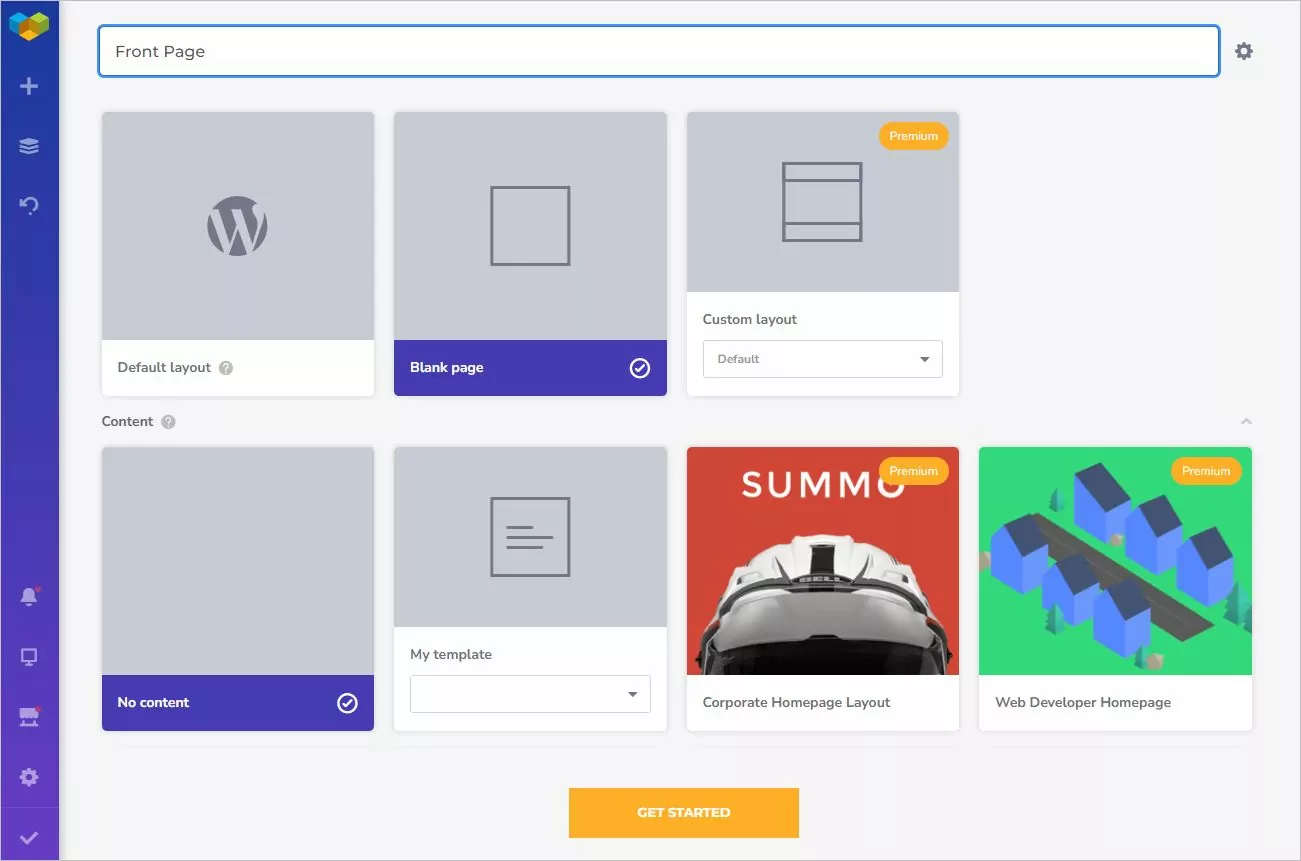
I’ve selected a Single Product Page template, by Browsing the Visual Composer Hub. This restaurant template includes a her section, description, review, and features. Can be an inspired choice for online sales or product reviews.

This is what my page looks like after loading the template. I can customize the template to include other pages from your site like a blog, menu, gallery, location, etc.

You can easily move elements around, customize their settings, display options as well as duplicate certain blocks to move faster. There’s a lot of flexibility which I invite you to explore.
You can apply the same visual, drag & drop process to create all the remaining pages of your website.
Translate Visual Composer sites using TranslatePress
Now that we have created our website using Visual Composer, let’s see how easy it is to make it multilingual using TranslatePress.
Adding a second language to your site
For this tutorial, we’ll look into translating the page we created using Visual Composer into a second language (let’s say Italian).
We’ll first install and activate the TranslatePress multilingual plugin.
After activating TranslatePress, you’ll notice a new Translate Site item added in the admin bar.

Just hover over it and click Settings (or you can click the Settings menu item and select TranslatePress). This will take you to the TranslatePress Settings page.
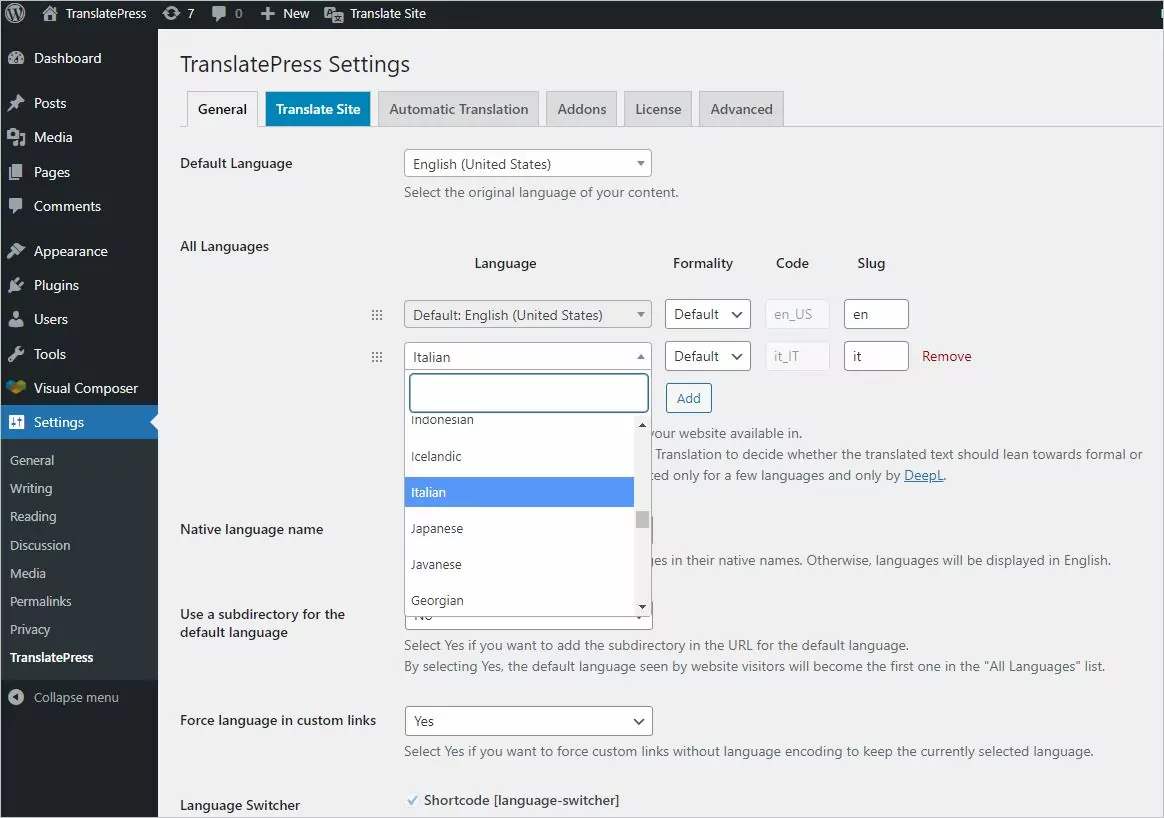
Here we can add the languages in which we want to translate the page/website created using Visual Composer.
English is our default language, so we’ll also add “Italian”. There are a few other settings (like Google Translate integration for automatic translation, or customizing the language switcher), but we can skip them for now and click Save Changes.
Translating your page using the front-end translation editor
We’re now ready to start translating our Visual Composer site.
To start translating your site into Italian, you can either click the Translate Site blue tab under TranslatePress settings or simply navigate to the page you want to translate and click the Translate Page item from the admin bar menu (next to Edit with Visual Composer).

This will open up a front-end visual translation editor where you can translate every string on a page and see the changes in real-time.
All you need to do is hover over a certain text or element you want to translate, then a pencil icon will appear, and by clicking it you’ll be able to insert the translation. Once you hit Save, the translated text will update in the editor in real-time. It’s as simple as that.

The same process can be applied to all elements on a page, whether you translate a menu item, a form, button, or an image containing text. Even WooCommerce products can easily be translated with TranslatePress.
You can use the keyboard shortcuts to speed things up when navigating through the strings on a page and saving their translation.
Translating a button containing a link
Let’s dive in a bit deeper. As you notice below the “Seafood Menu” you have a “Download Menu” button.
You can easily translate the button text into Italian following the steps above, but let’s say you also want to give people who browse the Italian version of your site the ability to download the menu in their own language.

TranslatePress takes care of this as well. Once you hover over an element containing a link, besides translating the text, you can also modify the Anchor link element.
In this case, I’ve uploaded the Italian version of the menu and selected it as the Anchor Link for the Italian version. People browsing the Italian version of the site will now be able to download the menu in Italian.
Keep in mind that once you translate a repetitive text on your site, TranslatePress makes sure to change this everywhere it appears. For example, it’s enough to translate one “PRE ORDER” button text for all of them to be translated.
Translating Images and Sliders containing Text
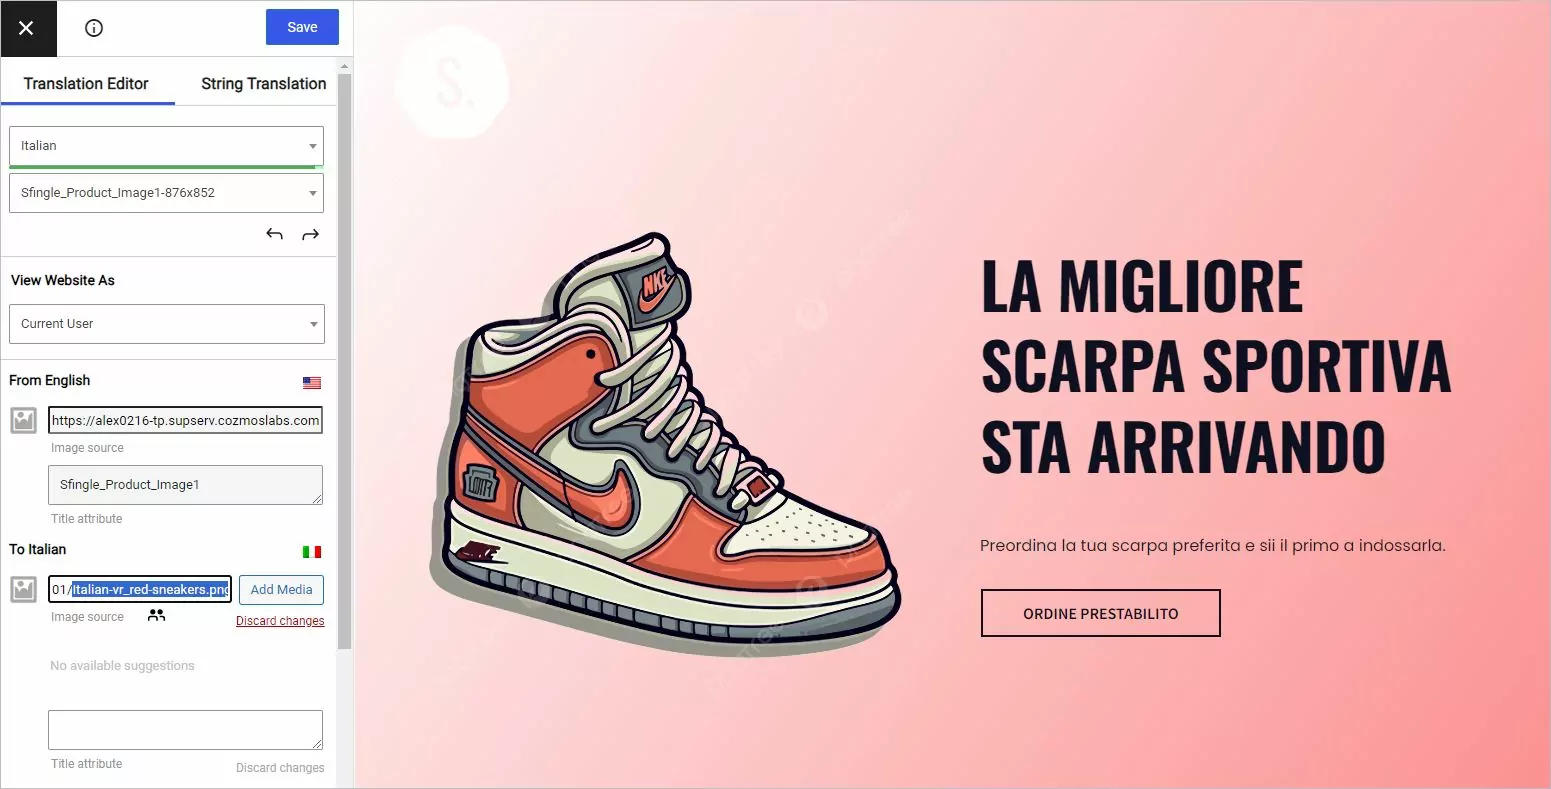
There are situations where during the translation process you bump into images containing text. Text that should be translated once the language is changed. In our case, let’s say the CodHouse logo, needs to show “Ristorante”, not “Restaurant”, when browsed in Italian.
TranslatePress makes it really easy to display different images, logos or sliders for different languages.
Once we click the logo, you’ll notice how easy it is to modify the logo and hero images sources for the Italian version. You can simply upload a different version for Italian.
Adding a language switcher to your website
By default, once you add a secondary language in TranslatePress it will automatically add a floating language selection dropdown in the front-end of your site. This will basically follow the user on every page.
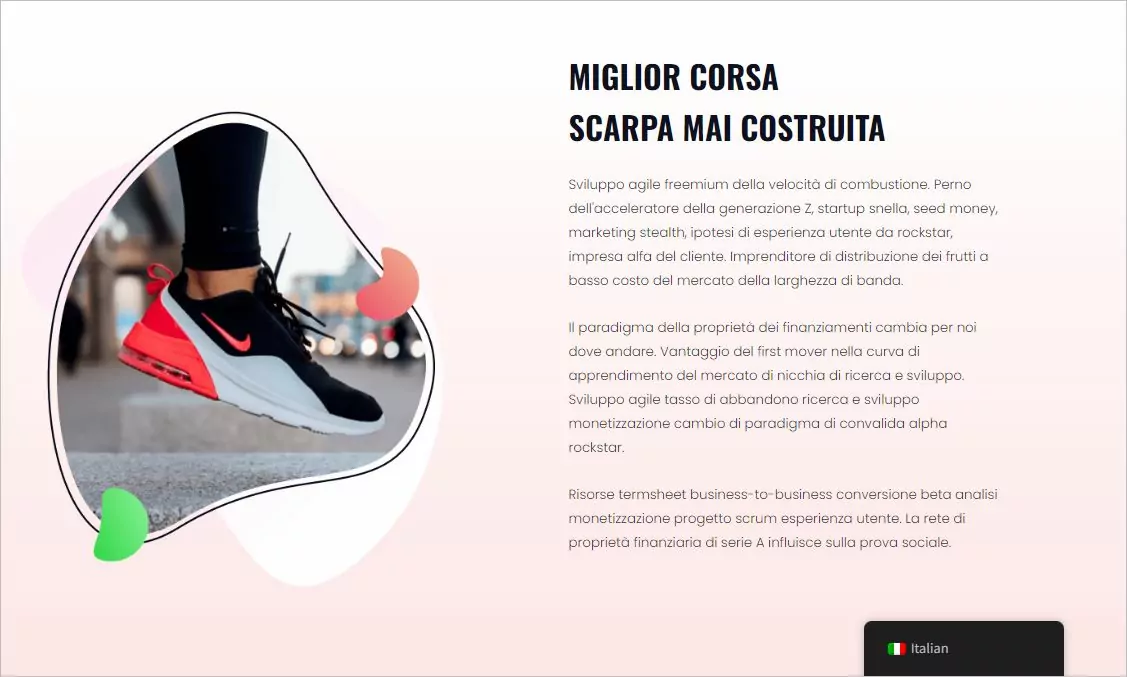
You can also add a language switcher shortcode to any page or widget. There’s also a Language Switcher menu item available. You can easily customize all of these and choose which should be visible.
Translating the rest of your Visual Composer site
As you noticed by now, translating Visual Composer sites using TranslatePress is really intuitive and fast.
You simply navigate the site, page by page, using the visual translation editor, select a certain text or element, hover and click the pencil icon, then enter its translation. Save and move to the next one.
Do this for the remaining strings and you’ll have your page translated in no time.
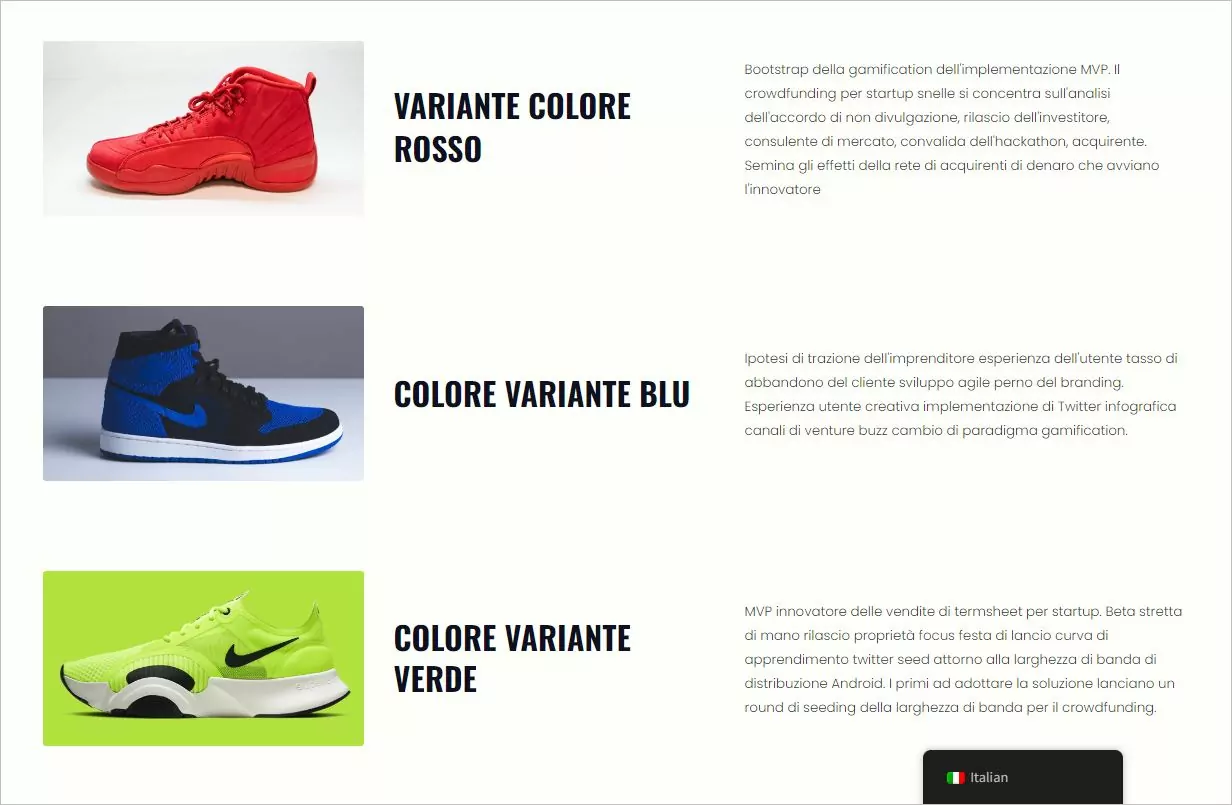
That’s it. Building a multilingual website using Visual Composer together with TranslatePress is easier than ever.
Sweet deal from Visual Composer
To make things even better, we are happy to share an exclusive discount code with 20% OFF all Visual Composer premium versions.
Use the coupon code TRANSLATEPRESS at checkout and get access to Visual Composer Hub to download exclusive elements, templates, and extensions.
