In this post
In this post
If you’re looking to build a multilingual WordPress site learning how to translate WordPress widgets content is critical in order to have a fully translated website. Translating widgets content in WordPress is not always straightforward, that’s why choosing the right translation tool is important.
Some translation plugins will require that you register widget fields for translation which is done either by writing code or by using a complicated interface / or a completely separate plugin. Others simply don’t have support for translating WordPress widgets. There is however a simpler and faster way. One that doesn’t require any custom code and is fully visual (you translate what you see).
In this tutorial we’ll focus on how to use TranslatePress – a WordPress translation plugin – to translate widgets in WordPress. Using its front-end visual translation interface all you do is click on a certain widget text and you can enter its translation in the sidebar, like this:
Ready to learn how to set it up? Here’s how to translate any WordPress widget using TranslatePress.
What are WordPress widgets and why translate them in the first place?
WordPress widgets allow you to add content to your website sidebar or footer area. Some common examples would be: adding a search box to your site, listing product categories for your WooCommerce store, or adding a Post Archives dropdown to your blog. Since plugins will often define their own widgets, the options available are unlimited.
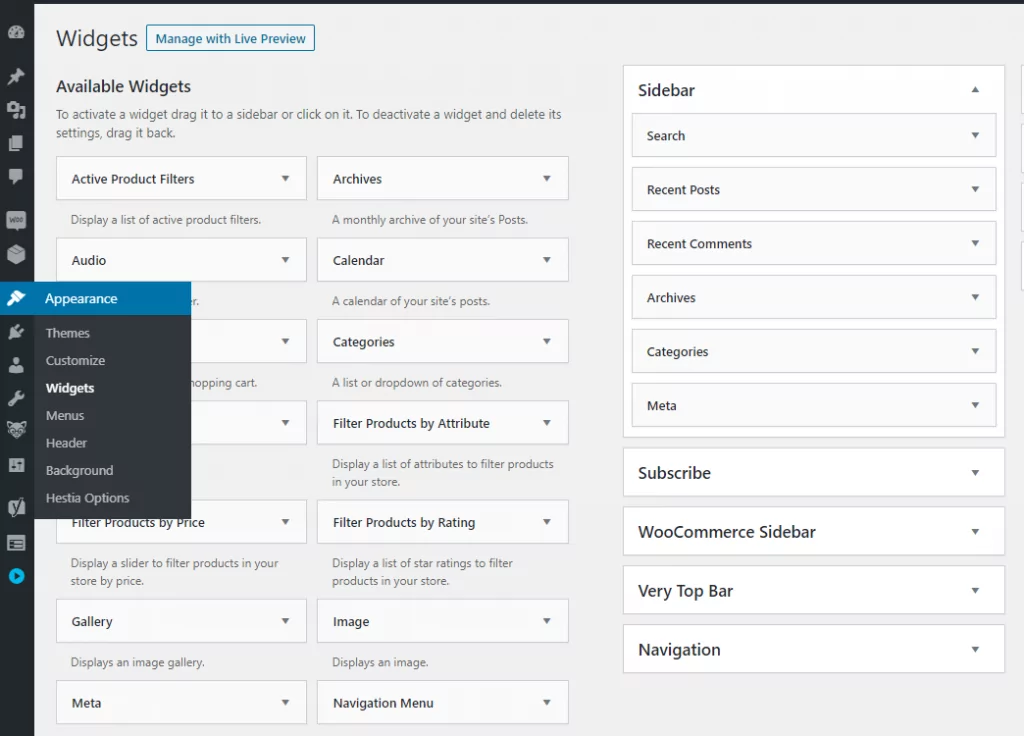
Adding WordPress widgets to your website requires no code experience or expertise. They can be added, removed, and rearranged using the Theme Customizer or Appearance → Widgets in the WordPress admin interface.
A theme can place widget areas anywhere on a page. For example, besides the usual sidebar locations, some themes let you also place widgets in the footer of every page.
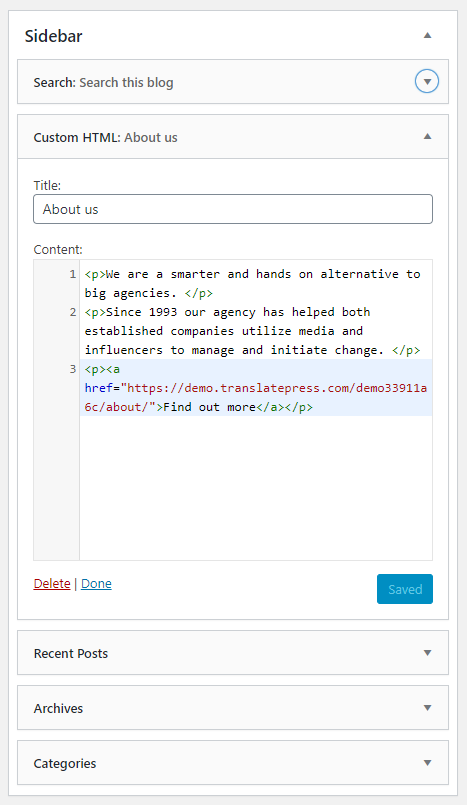
For this tutorial, we’ve set up a blog with a sidebar where we’ll add different types of widgets: a search box, a text/html widget, Recent Posts, Archives, and Categories. Then we’ll use TranslatePress to translate all of them.
Before we start off, here’s a quick video tutorial explaining how to do this in short:
But if you want to get into more detail and take things at your own pace, please continue reading this article.
Translate Widgets in WordPress Using TranslatePress
If you’re looking to make your website available in multiple languages you will need just one tool: TranslatePress.
TranslatePress Multilingual
Install TranslatePress and Choose Languages
You can start by installing and activating the free TranslatePress plugin from WordPress.org.
Once you’ve activated the plugin, navigate to Settings → TranslatePress and choose the languages you want to make your website available in.
First, choose the Default Language, which is the language that your website content is currently written in. Then, add new translation languages that you want to offer.
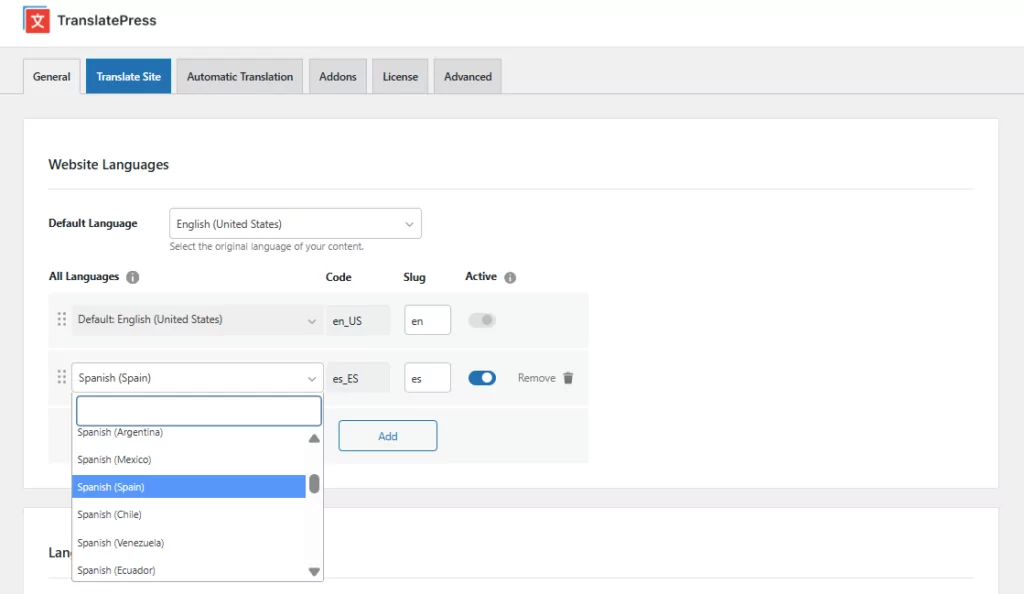
The free version of TranslatePress lets you translate your content into one new language while the premium version has support for adding unlimited languages.
The are a few other settings in TranslatePress, like adding and customizing a front-end language switcher, but for now, we’ll simply click Save Changes and proceed to translate the widget content.
Creating Multilingual Widgets in WordPress
We’re now ready to start translating our previously added widgets. For this simply navigate to the page (Blog in our case), where the widgets are displayed, and from the admin bar at the top click Translate Page.
Now, this is where the magic happens. This will open up the TranslatePress visual interface where you should see a live preview of your site, much like the native WordPress Customizer, and a translation sidebar on the left.
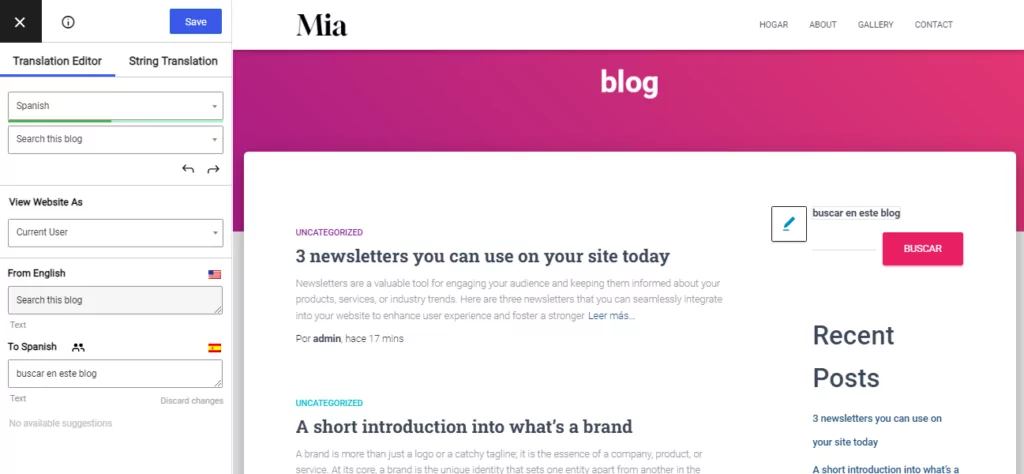
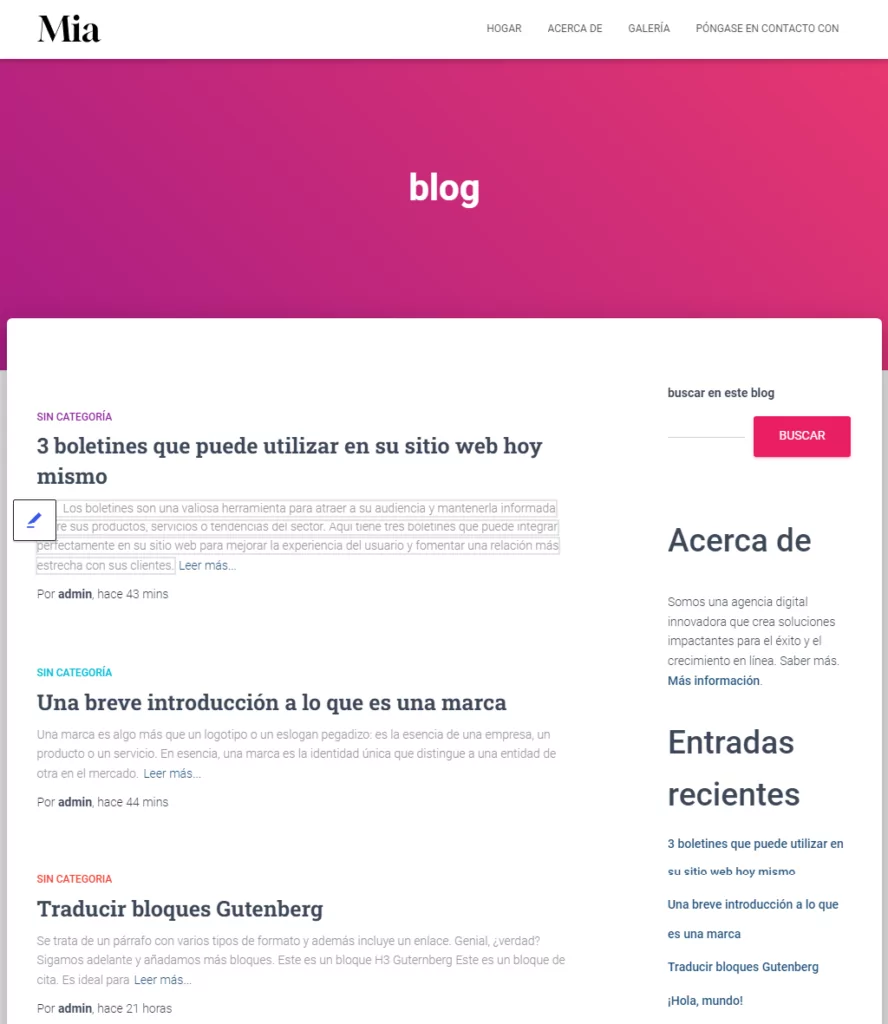
To translate a widget, all you do is hover over its text and click the blue pencil icon and enter your desired translation. Here’s how to translate the Search box into Spanish:

The same approach works for the “About Us” HTML widget
…and it’s the same for any other widget, independent of type or whether it was added by a plugin, theme, or WordPress itself.
You simply click to select a certain text, enter its translation, save and move to the next one. That’s it.
The same approach can be used to translate any type of content on your website. Besides standard content, TranslatePress makes it super easy to translate more complex elements like popus, images with text, sliders, or forms.
For a step-by-step guide on how to translate all your site content have a look at How to Create a Multilingual WordPress Site.
Translate Widgets in WordPress Automatically
Besides translating manually, TranslatePress also supports automatic translation — which means you can have your widget content translated instantly, without clicking through each string one by one.
The fastest way to get this running is TranslatePress AI, the plugin’s built-in translation engine. There’s nothing external to configure: no third-party account, no API key, no separate service to sign up for. Every plan — including the free version — includes a set number of AI words from the start, so you can enable it and begin translating straight away.
To turn it on, go to Settings → TranslatePress, open the Automatic Translation tab, enable automatic translation, and select TranslatePress AI as your engine. If you don’t have a pro license, this is where you’ll have to create a free one before you move on.
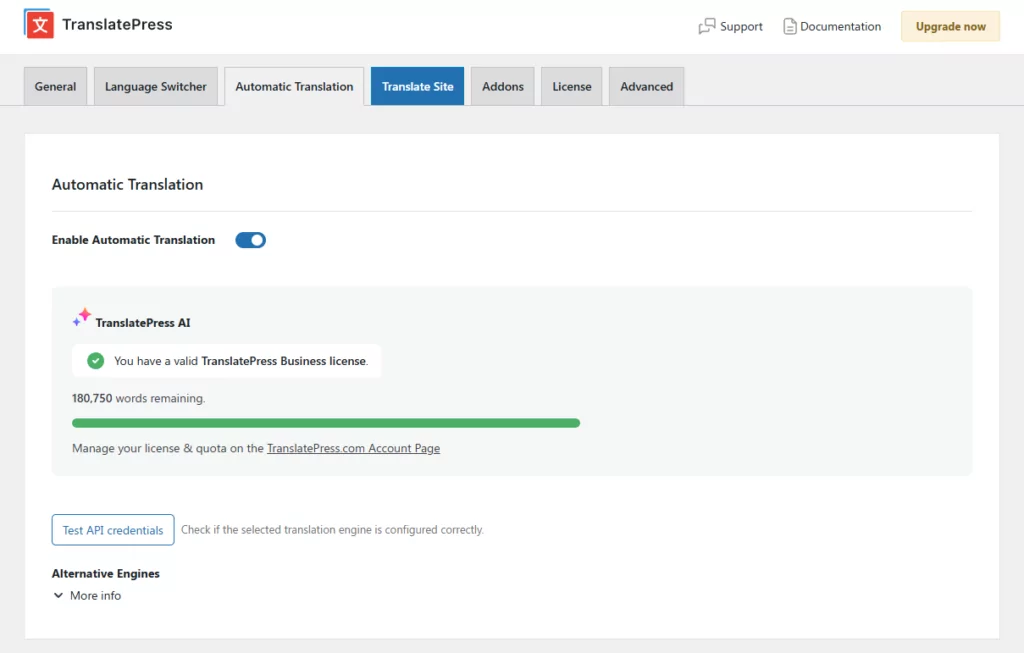
Hit Save Changes and TranslatePress will automatically translate your site’s content — widgets included.
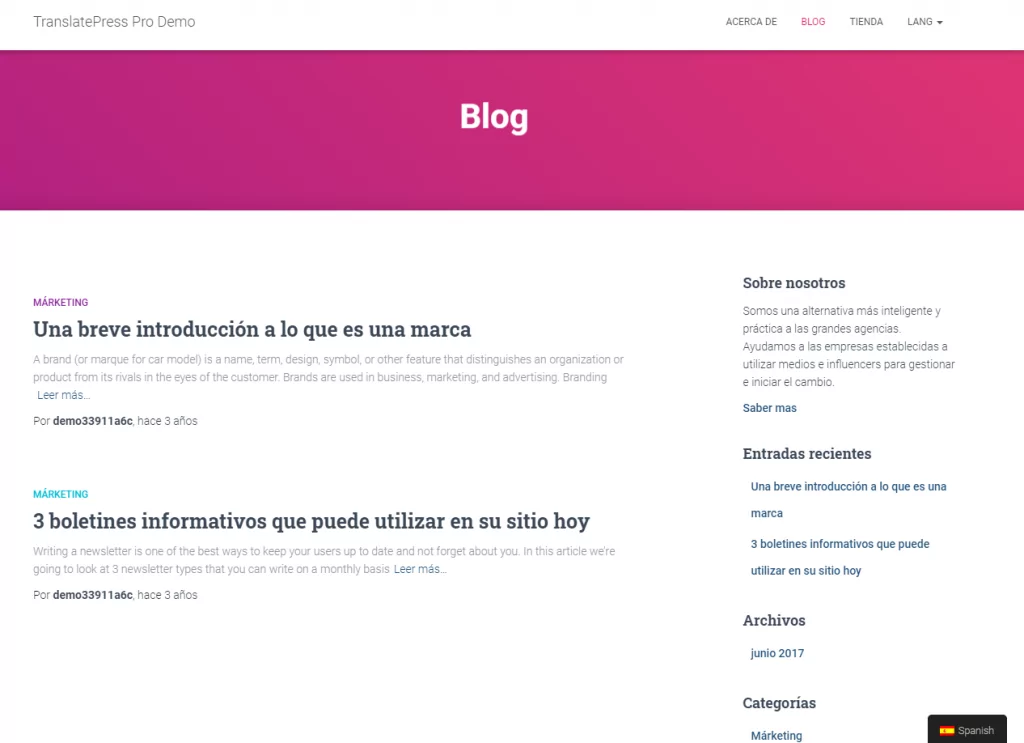
Here’s what our blog page content — including all sidebar widgets — looks like after enabling automatic translation:
TranslatePress stores all translations locally in your database, so you only pay the cost of generating them once — not on every page load. That also keeps things fast for your visitors.
If you’d prefer to use an external API instead, TranslatePress also connects to:
- Google Translate — available on all plans, including the free version. Requires a Google Cloud Translate API key. See our guide on generating a Google API key.
- DeepL — available in Business and Developer plans. Requires a DeepL API key.

Regardless of which engine you use, you can always refine any automatically generated translation by hand in the visual editor.
How to Show Different Widgets based on Language
There are situations where you might want to display different widgets based on language. Not simply translate the widget content, but display a different widget altogether and translate that one.
You can easily achieve this using the free Widget Logic plugin in addition to TranslatePress.
Simply install and activate Widget Logic, then in the WordPress admin navigate to the widgets area under Appearance → Widgets. You’ll notice a Widget Logic field added under each widget.
Let’s say we want to display the Search box for English only and hide it on the Spanish blog.
For this, under the widget logic field we add: (get_locale() == 'en_US')
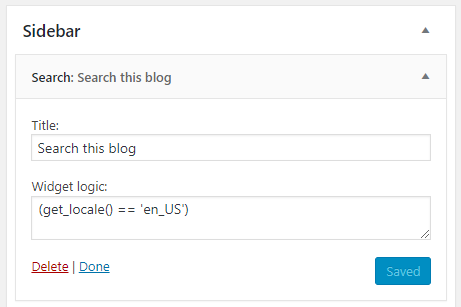
This will display the widget only when this condition is met. In our case, when the language you’re browsing is set to English (United States) → ‘en_US’.
Notice how the Search box dissapeared from the Spanish version of the site now:
For extra flexibility you can use any variations of the logic listed above, including negating it:!(get_locale() == 'en_US'). This will make the search box appear on all the other language versions, except for English.
WordPress Language Switcher Widget
TranslatePress gives you several ways to add a WordPress language switcher to your site. You’ll find all the options under the dedicated Language Switcher tab in the top navigation of your TranslatePress settings.
There are three switcher types to choose from:
- Floating — a persistent switcher fixed in a corner of every page, so visitors can always find it regardless of where they are on your site.
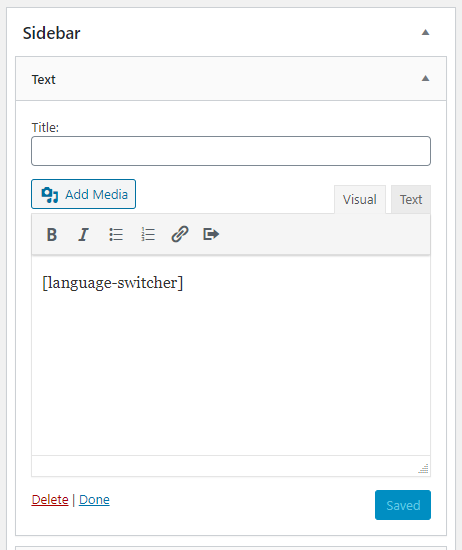
- Shortcode — place the switcher anywhere using
- Menu item — go to Appearance → Menus to add language options directly to any navigation menu. The switcher picks up your theme’s existing menu styling automatically.
To create a language switcher widget, the shortcode approach is your go-to. Drop
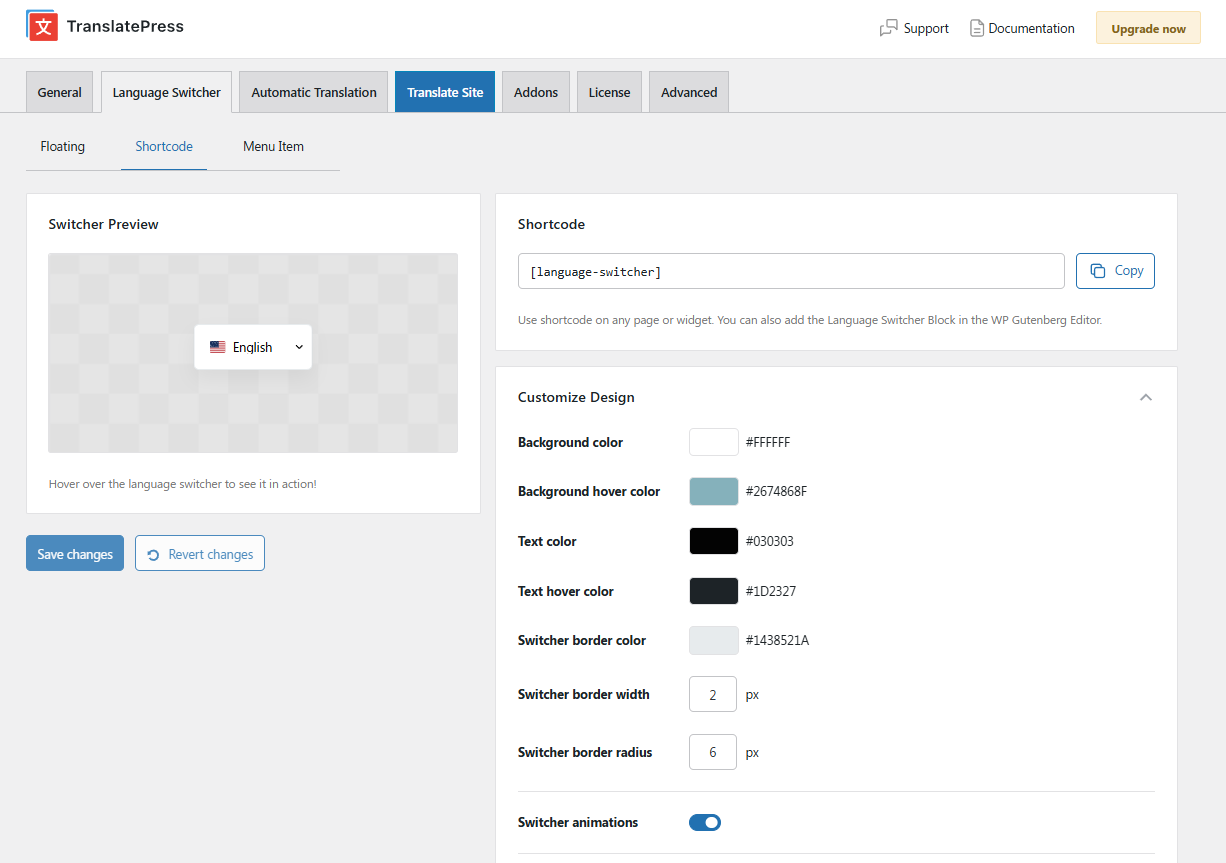
To customise how the shortcode switcher looks — colours, flag shape, language name format, whether it opens on click or hover — go to the Language Switcher tab in your TranslatePress settings and open the Shortcode sub-tab. A live preview updates as you make changes.
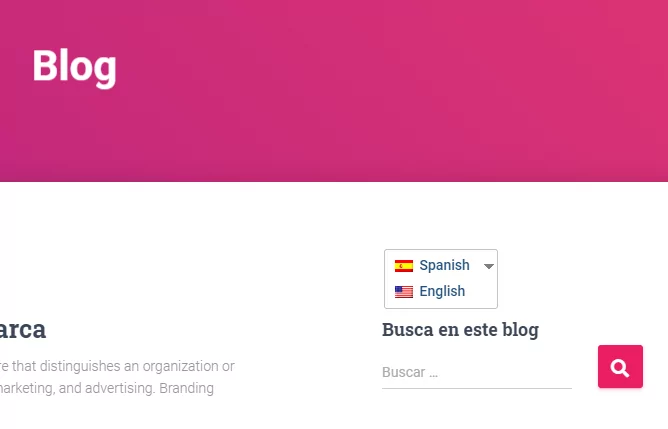
On the front-end, the language switcher widget renders as a dropdown that lets visitors switch languages with a single click:
Translate WordPress Widgets Today!
TranslatePress makes it super easy to translate any WordPress widget, directly from the front-end using a super intuitive visual interface. The same approach can be extended to translate all your site content and make it available in multiple languages.
TranslatePress Multilingual
To get started, you can download the free version of TranslatePress. Then, upgrade to a premium plan for unlimited translation languages, improved multilingual SEO, automatic translation via DeepL, automatic user language detection, and more.
Do you still have any questions about how to translate widgets in WordPress? Let us know in the comments below!
If you found this post helpful, please check out our YouTube channel, where we constantly upload short & easy-to-follow video tutorials. You can also follow us on Facebook and X to be the first to know each time we post.