In this post
In this post
You may have noticed that many popular e-commerce sites are multilingual. That’s not a coincidence. Every language you add to your store means more potential customers have the opportunity to enjoy your products. The challenge, of course, lies in the translation process.
Fortunately, building multilingual e-commerce sites is easier than ever. With the right tools, you can translate an entire website in minutes without having to touch a single line of code.
In this article, we’re going to talk about why going multilingual can help you grow your online store. Then we’ll go over the process of building and translating an e-commerce site. Let’s get to work!
The Benefits of Multilingual E-Commerce
A common trend among large online stores is that their platforms are available in more than one language. Considering all the man-hours that go into translating a massive website, you can bet they’re investing in multilingual e-commerce for a reason.
More than half of the web’s content is written in English. However, there are several other languages that rival it in terms of number of speakers. Mandarin Chinese, for instance, is used by almost as many people globally. The growing popularity of Spanish and Arabic are also notable.
Many shoppers don’t feel comfortable interacting with, let alone buying from websites that aren’t in their native language. Tools such as Google Translate can help, but it’s not the same as being able to read product descriptions with ease:
When you translate your online store, your customer pool grows significantly. Beyond sales, multilingual e-commerce sites also have an edge when it comes to Search Engine Optimization (SEO). It can be much easier to rank for keywords with high volumes of traffic in other languages, which, in turn, leads to even more site visitors.
Perhaps the primary reason why most small online stores don’t consider the option of going multilingual is their budgets. Even at the low end, translating an e-commerce site might cost you thousands of dollars in professional fees.
An alternative is to use machine translation, which sometimes provides unnatural or inaccurate results. Equipped with the right tools, however, even small online businesses are capable of achieving worldwide sales.
How to Create a Multilingual E-Commerce Site With WordPress (In 8 Steps)
Setting up a multilingual e-commerce site isn’t exactly a simple task. However, you can drastically improve the process just by using the right tools for the job, starting with a translation-ready Content Management System (CMS).
Step 1: Choose Your CMS or Website Builder
There are several platforms you can use as your online store’s foundation. They can be separated into three general categories:
- E-commerce-specific solutions. Platforms such as Shopify, Magento, and BigCommerce fall under this umbrella. They’re relatively easy to pick up, but their licenses can get pricey and it may be difficult to add functionality such as blogging.
- Website Builders with selling functionality. These include platforms such as Squarespace and Wix. They’re easy to use, but can also become expensive and are somewhat limited when it comes to customization.
- CMSs. Platforms such as WordPress, Joomla!, and Drupal don’t include e-commerce functionality out of the box, but you can adapt them to your needs. You can often edit your site’s code (or hire someone to do so for you) and have a huge range of customization options. That said, they’re a little harder to get the hang of.
Often, the question of which route to take comes down to control versus ease of use. Self-hosted WordPress can be a meet-in-the-middle solution. Although it’s more complex than Shopify or Wix, it’s designed to be user friendly even for those without technical experience:
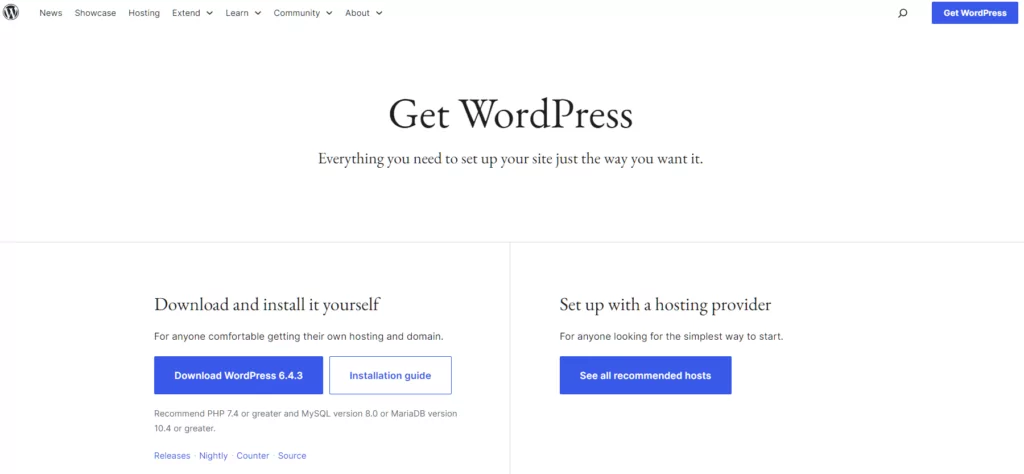
Plus, it’s versatile enough to handle almost any type of project, including multilingual e-commerce. Thanks to WordPress plugins, you can customize your site to power an online shop and translate its content.
Step 2: Set Up Your CMS
Regardless of which platform you choose to create your multilingual e-commerce site, you’ll need to do some basic setup. Since this guide is focused on WordPress, we’ve covered the basic steps for getting started with this CMS below:
- Choose a hosting provider. This is the company that owns the server that will store your e-commerce site. WordPress has several recommended hosts you may want to consider, but one particular solution that we highly recommend if you’re just getting started with WordPress is SiteGround. EasyWP is another great option for beginners and non-techies.
- Register a domain name. While you may not have heard them called such, you’re already familiar with domain names. This is your website’s address or URL. You can often acquire one from your hosting provider, although it’s usually recommended that you go through a registrar such as Namecheap instead.
- Install WordPress. Depending on your hosting provider and plan, this may be taken care of for you. Otherwise, you can follow the official instructions for installing WordPress on your server.
These three steps will provide you with a basic, blank website ready for customization. Before you continue, you’ll need to choose and install a WordPress theme. Although there are many multipurpose options that will work, it’s usually smarter to go with one designed specifically for online stores.
Step 3: Select the Perfect E-Commerce Plugin
One of WordPress’s main selling points is its plugin system. Installing a single extension can often be enough to overhaul the CMS completely.
There are tens of thousands of plugins available for free, including e-commerce options. Some of the most popular include WooCommerce and Easy Digital Downloads.
Overall, WooCommerce enables you to implement the most advanced e-commerce system for WordPress. It can help you sell both digital and physical items, including digital files such as eBooks, reports, or even a Flipbook PDF alternative, as well as manage shipping, taxes, and more:

Due to WooCommerce’s popularity, the plugin itself is also extendable. There are plenty of free and premium add-ons you can use to set up all sorts of niche functionality.
One great example of this involves payment processors. With WooCommerce, you can easily find extensions that enable you to support the most popular payment gateways from around the world.
Combine that with the fact that WooCommerce is translation-ready (meaning its code is written to support languages other than English), and you have the perfect foundation for a multilingual e-commerce site.
Step 4: Configure Your WooCommerce Settings
Installing WooCommerce only takes a few minutes. However, configuring its settings is another matter entirely. As soon as you activate the plugin, it will prompt you to go through its setup wizard, which we recommend you take advantage of.
The wizard covers all the basics you need to get your online store off to a good start, including tax and shipping settings, what types of products you want to sell, and more.
Optimal WooCommerce settings will vary widely from store to store. However, since you’re planning to add multiple languages and target a worldwide audience, there are three areas you need to pay close attention to.
The first is enabling additional payment gateways for the regions you want to sell to. Out of the box, WooCommerce includes support for PayPal and Stripe:
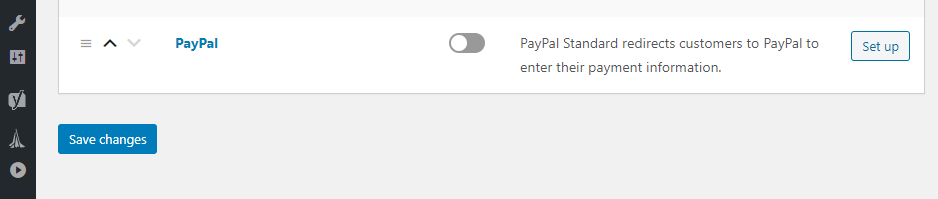
PayPal is a must for international stores, considering its global reach. However, you will also want to consider local payment processors for countries you want to market to.
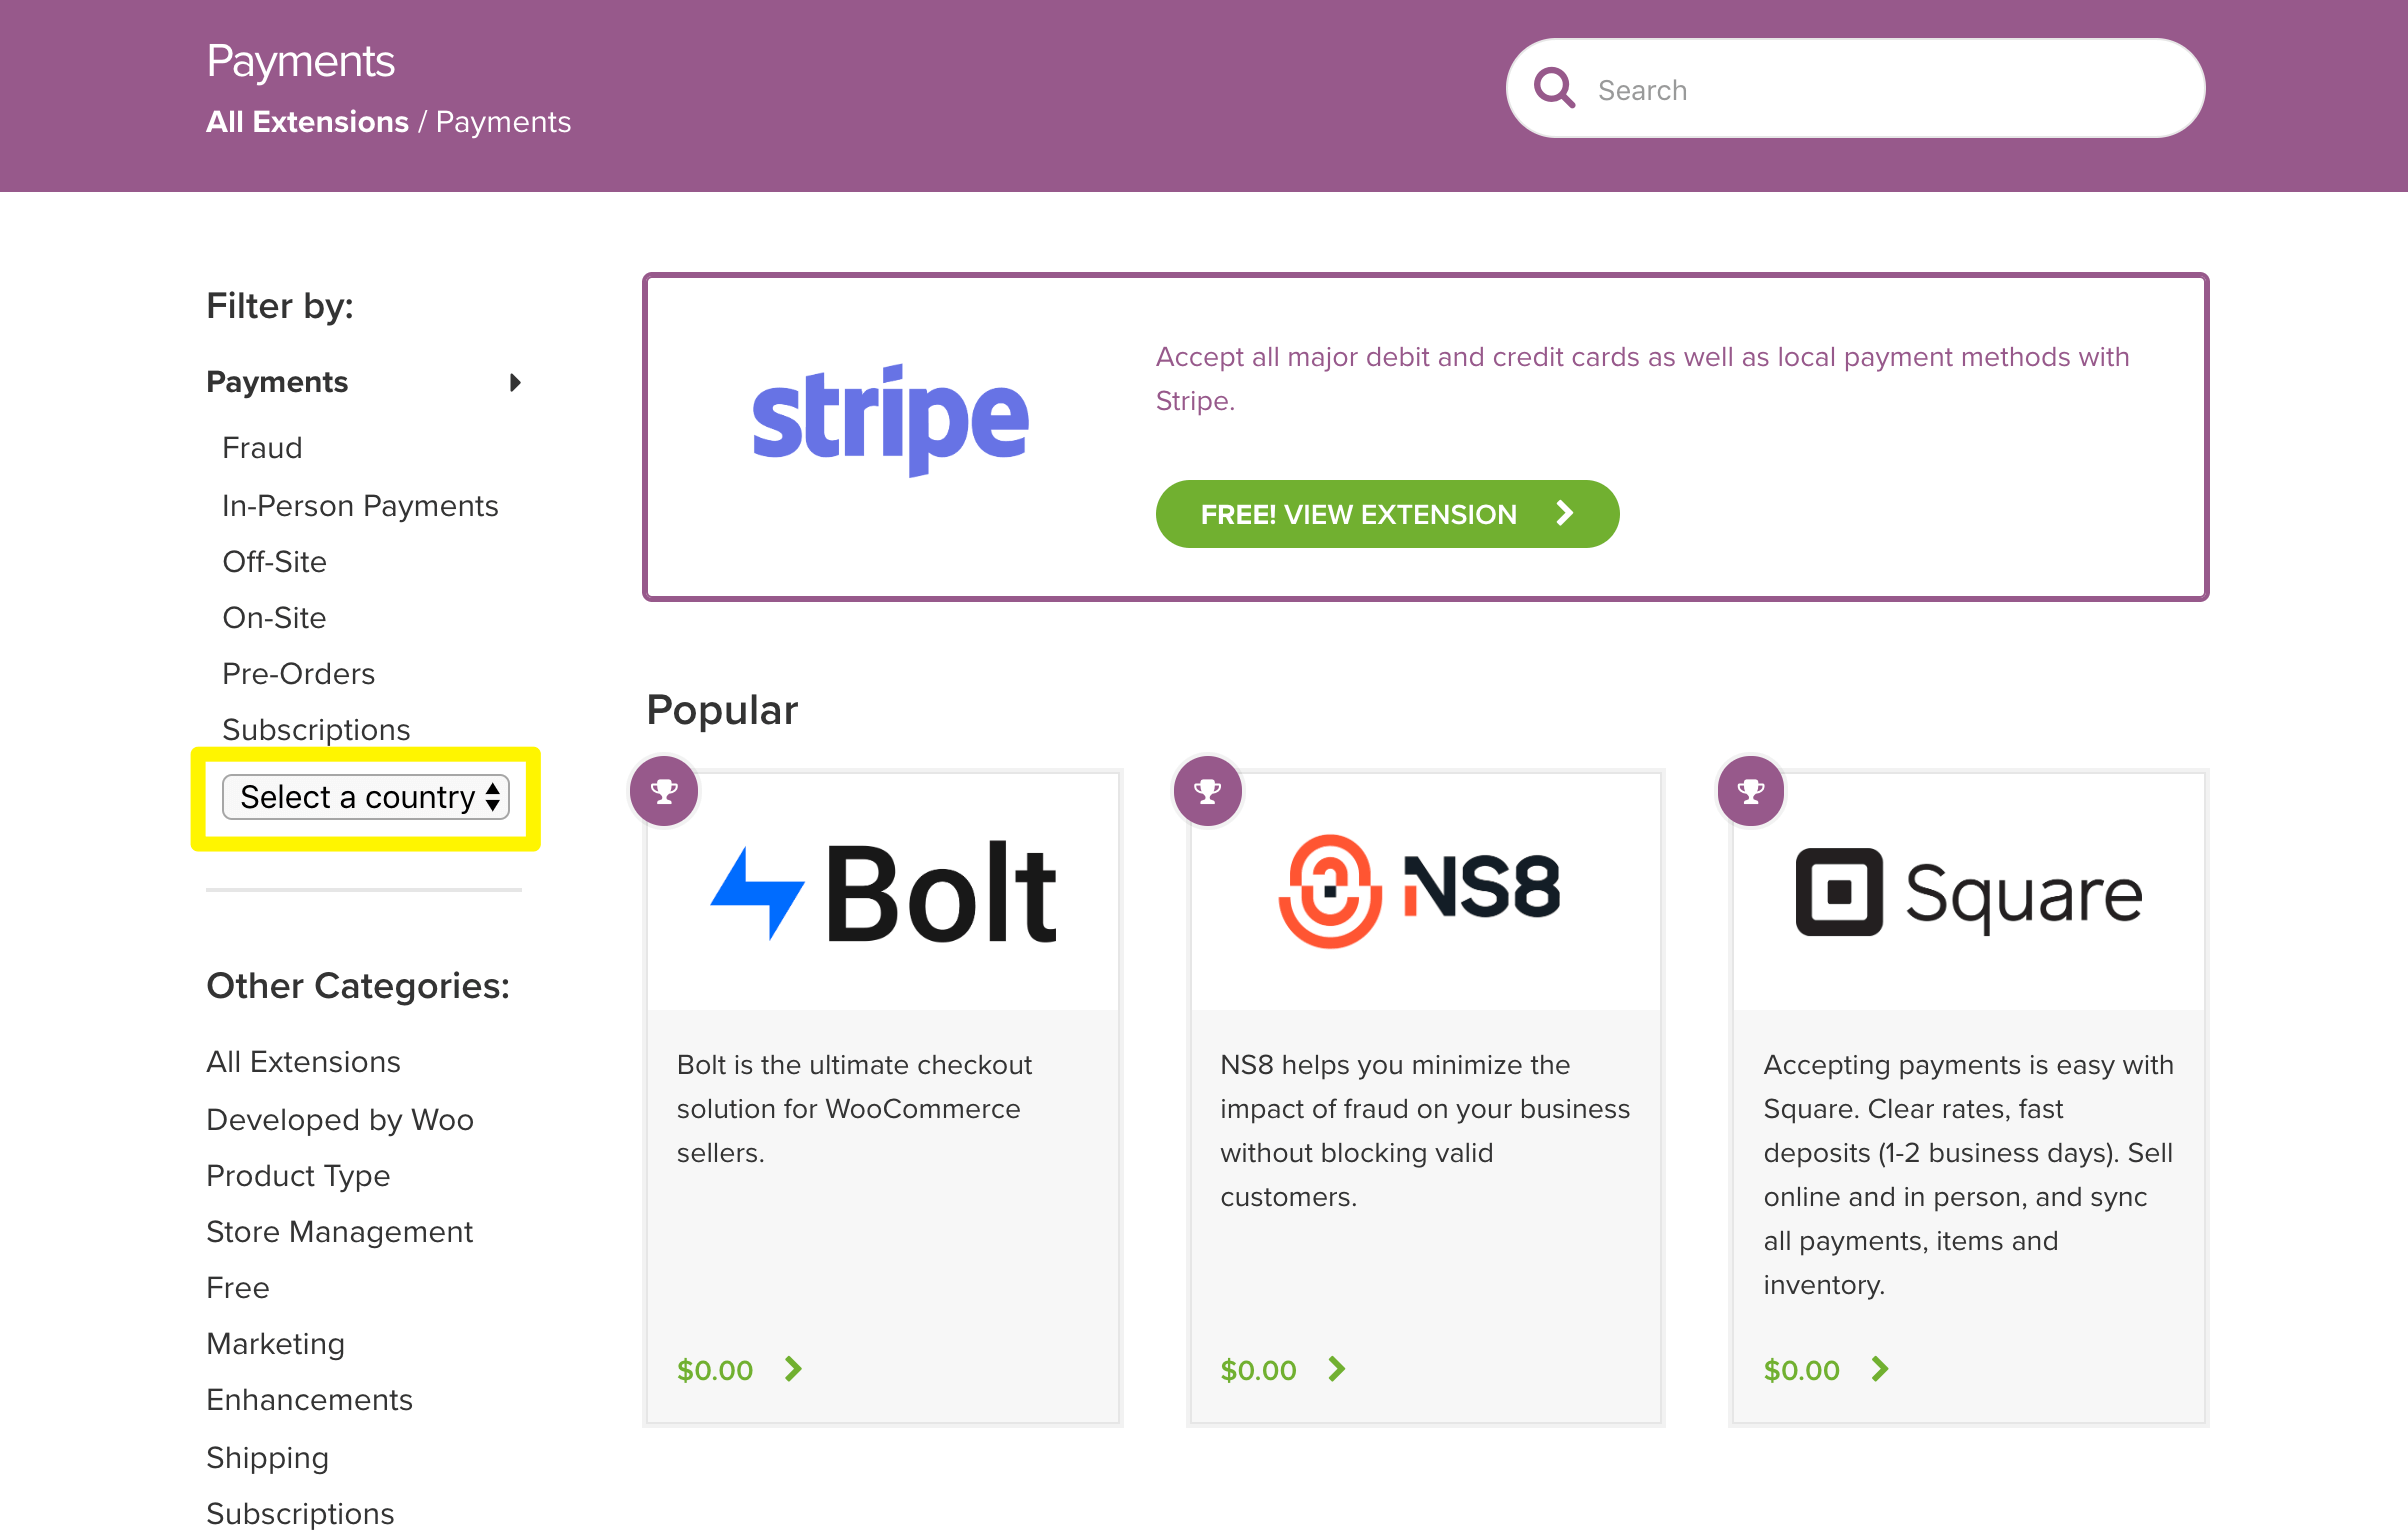
The logical approach here is to do research to determine which payment gateways local users prefer. You can then look for their corresponding WooCommerce extensions. The official marketplace also includes a handy dropdown search-by-country feature:
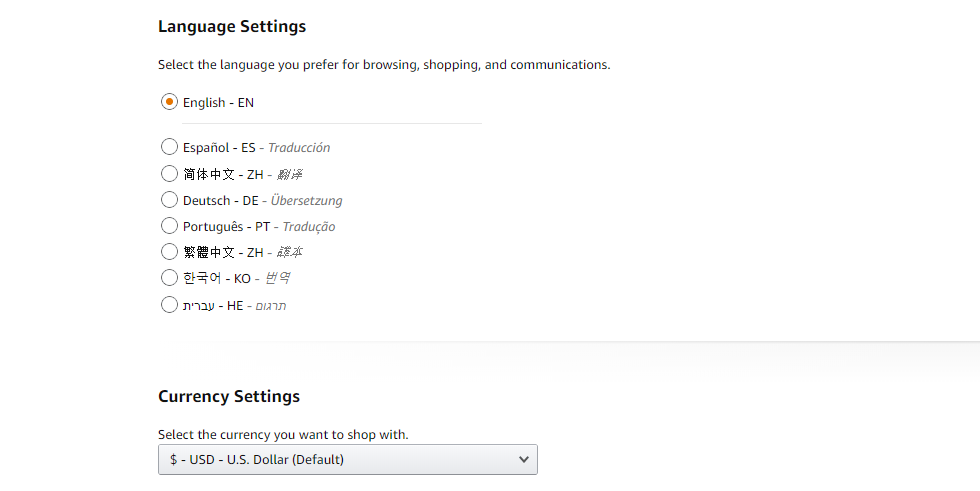
Beyond that, you might also want to consider adding support for multiple currencies. International customers will then be able to determine the price of your products faster. For this task, we recommend an extension such as WooCommerce Multi-Currency.
Finally, you will want to go over your shipping settings and add new regions. WooCommerce refers to the geographic areas your store can send products to as ‘shipping zones’:
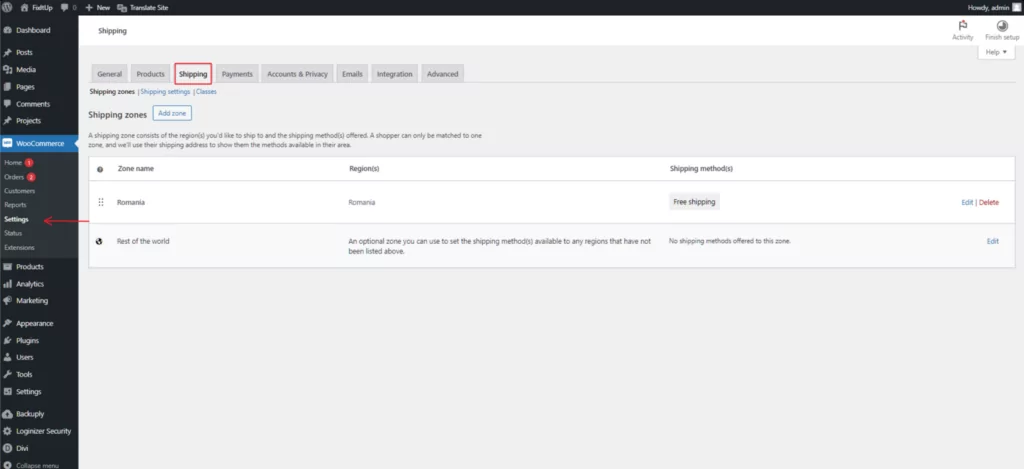
You can change your current shipping settings and add new zones by navigating to WooCommerce > Settings > Shipping. In case of any doubts, make sure you consult WooCommerce’s documentation.
Step 5: Add Your Products
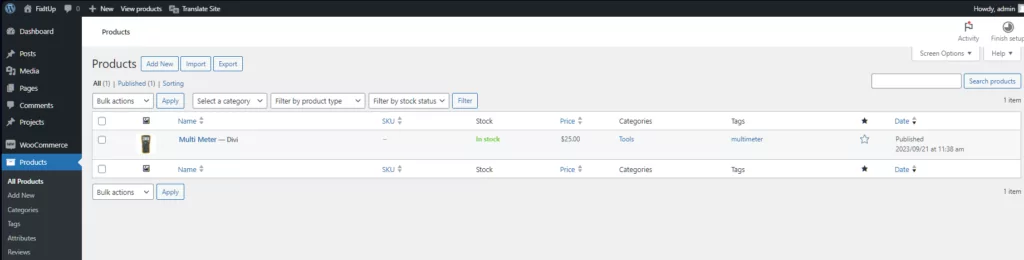
Once you have your basic settings covered, it’s time to start adding products to your online store. You can do this by navigating to Products > Add New within your WordPress dashboard:
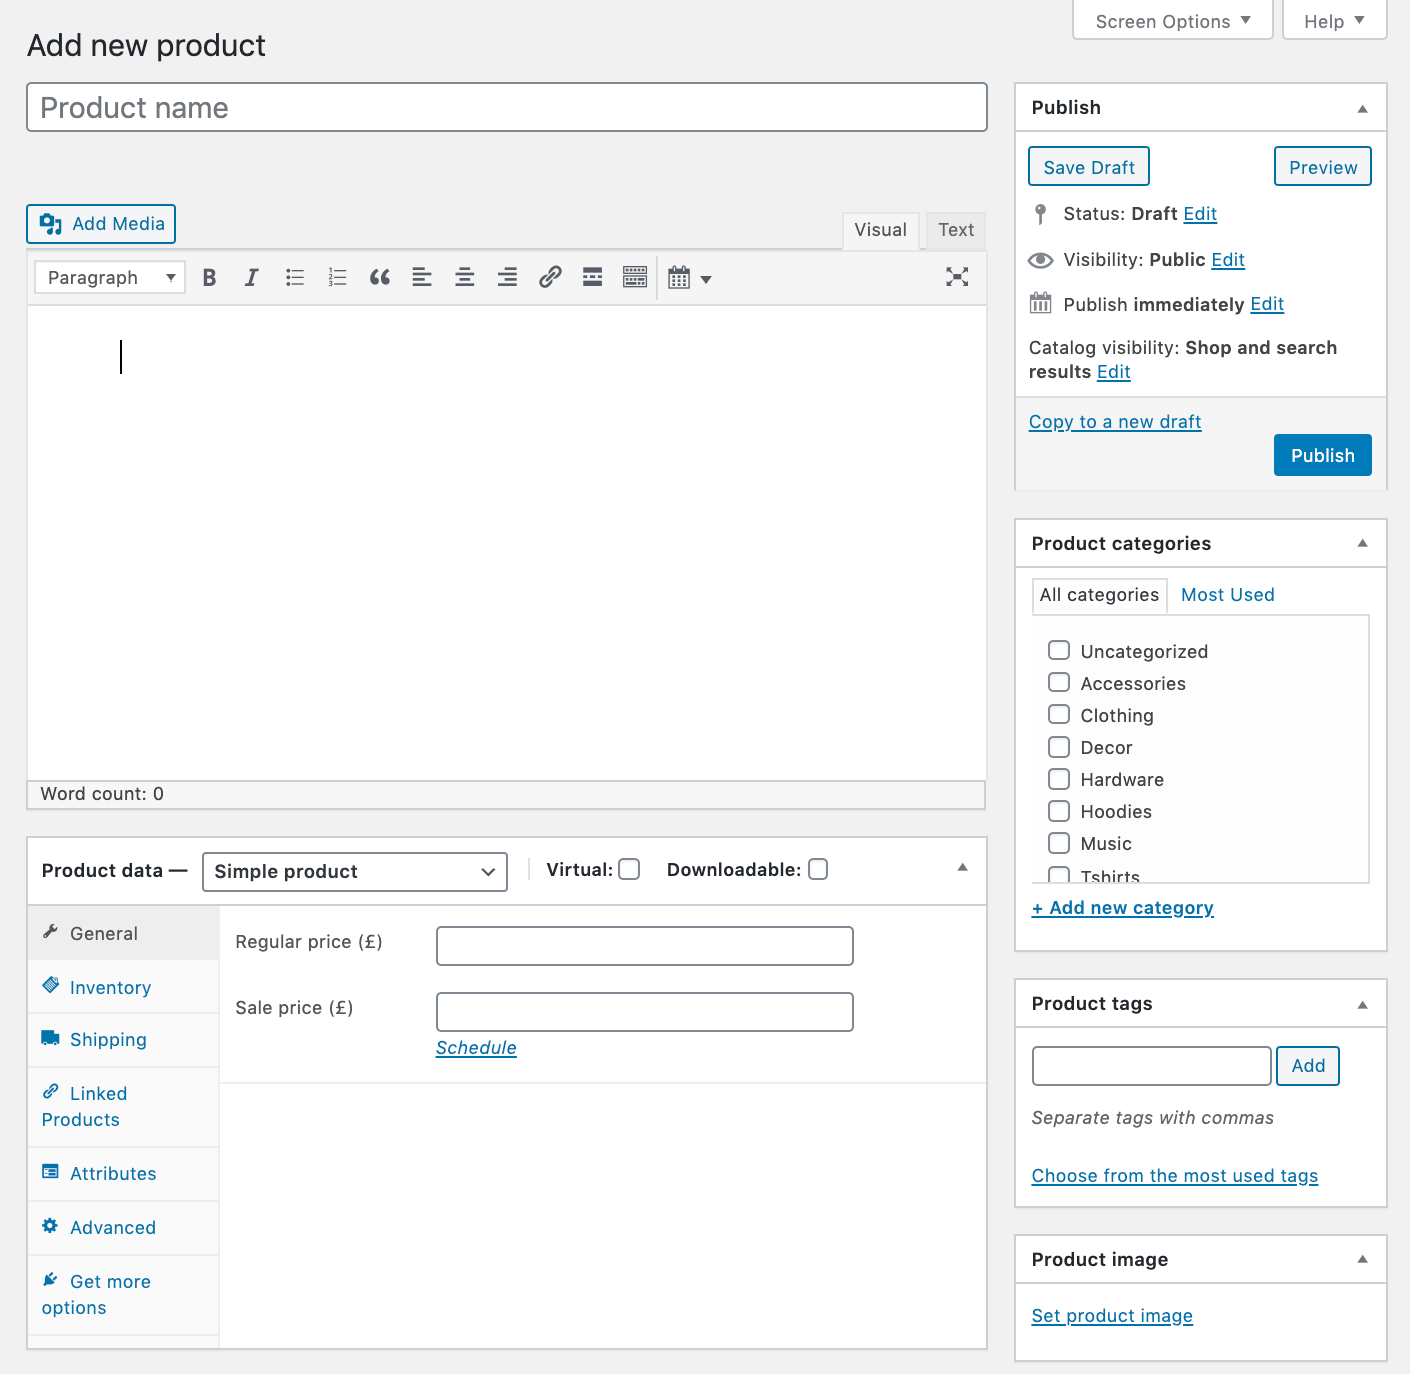
WooCommerce enables you to set up products using the classic WordPress editor with a few additions. Here you can list your product’s name, description, price, shipping details, and more:
Make sure to pay special attention to your product’s shipping details since you’re going to be handling international orders:
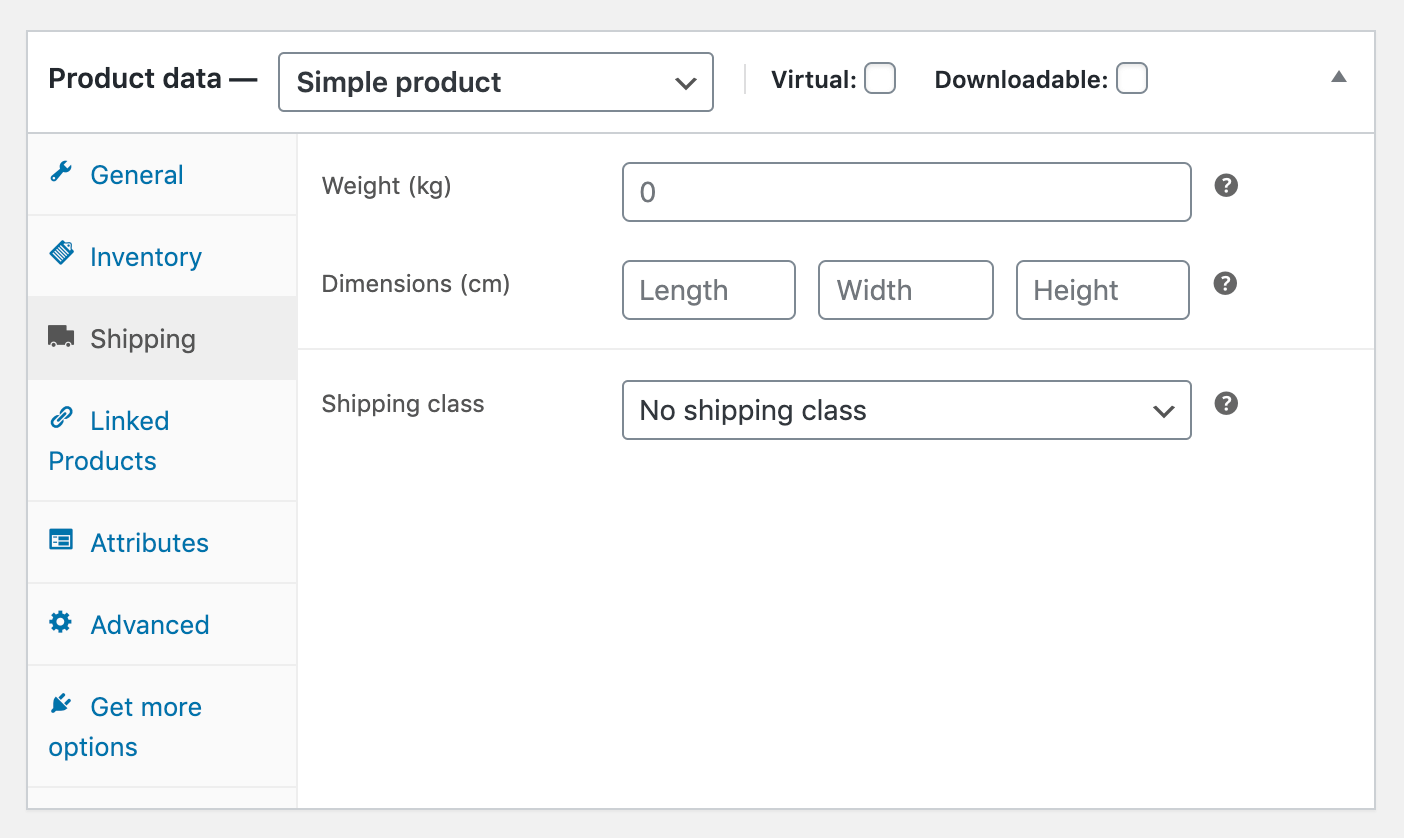
This means making sure every product includes accurate dimensions and weight, which can influence shipping rates dramatically. Once you’re finished customizing your product, click on the blue Publish button to make it visible to customers.
Step 6: Install a Translation Plugin
Now that your e-commerce store is full of products, it’s time to make it multilingual. Ideally, you want a plugin that simplifies the translation process as much as possible. That means it shouldn’t require you to fiddle with code or hire a developer to make customizations.
Translation itself is never a ‘simple’ process, however. Proper website localization usually requires, at the very least, working with an expert in your target language.
Which approach you want to take when it comes to translation is up to you. However, with the right tool, the process becomes much easier. Our TranslatePress multilingual plugin is a solid option:
TranslatePress Multilingual
The primary advantage TranslatePress offers over other multilingual plugins is it enables you to translate all your content visually, directly from the front end. That means you can see changes live as you translate the content.
Most importantly, TranslatePress works out of the box with WooCommerce, no extra compatibility needed. You simply install the plugin and get to work on your multilingual e-commerce site right away.
Step 7: Translate Your WooCommerce Content
To get started with TranslatePress, install and activate the plugin, then navigate to Settings > TranslatePress. From this page, you can confirm your store’s default language and select which ones you want to add:
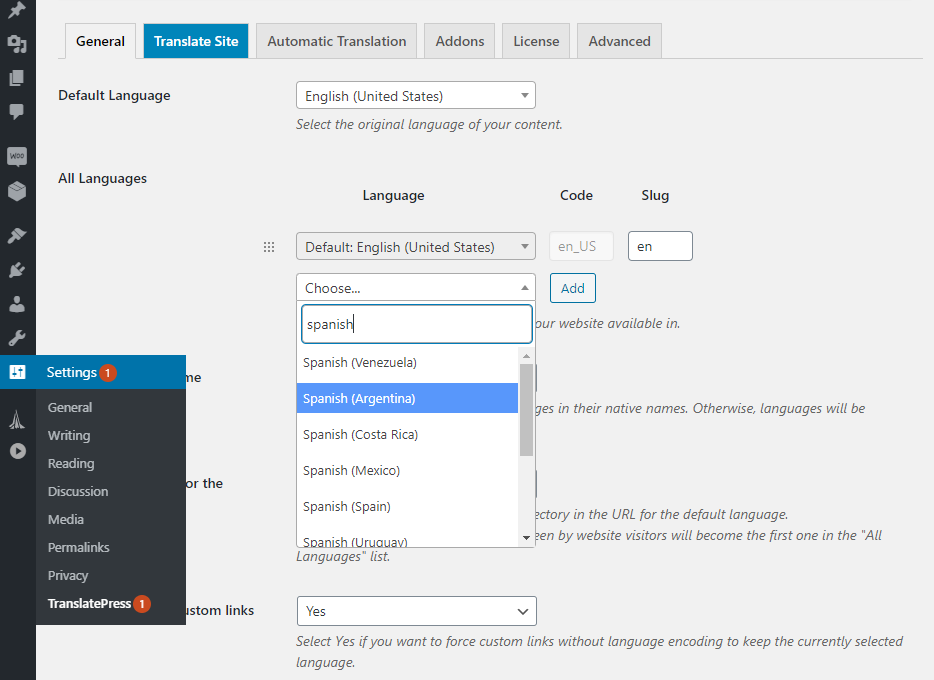
The free version of TranslatePress lets you translate your store into one other language, while the premium version lets you add unlimited translation languages.
Once you add a new language, the real fun begins. You’ll need to get to work on translating your site’s elements.
To do that, go to the page you want to start with and click on the Translate Page option at the top of the screen (you have to be logged in for it to appear):
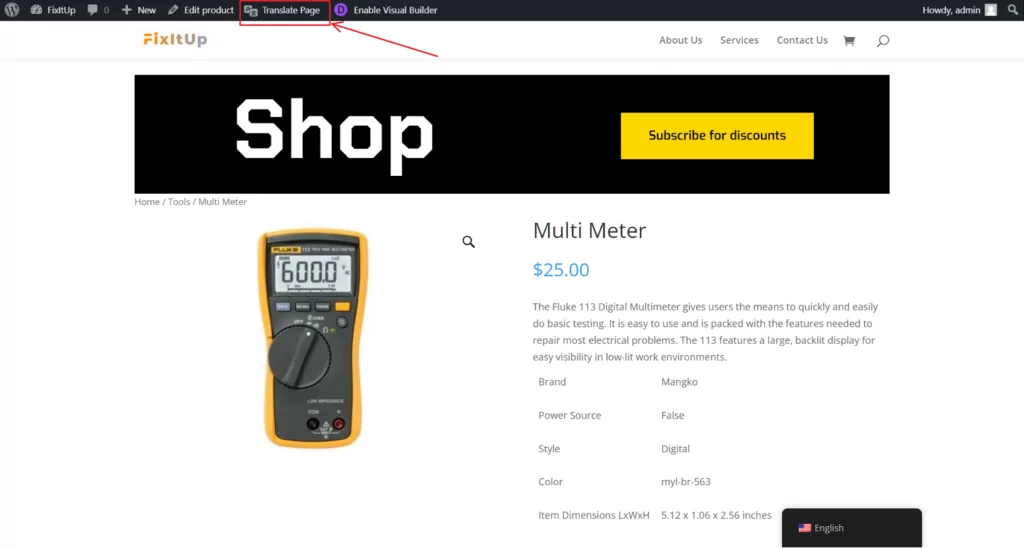
This will open up a visual translation interface (similar to the Customizer), where on the left you’ll be able to insert and edit translations, and on the right you’ll see your website being translated in real time.
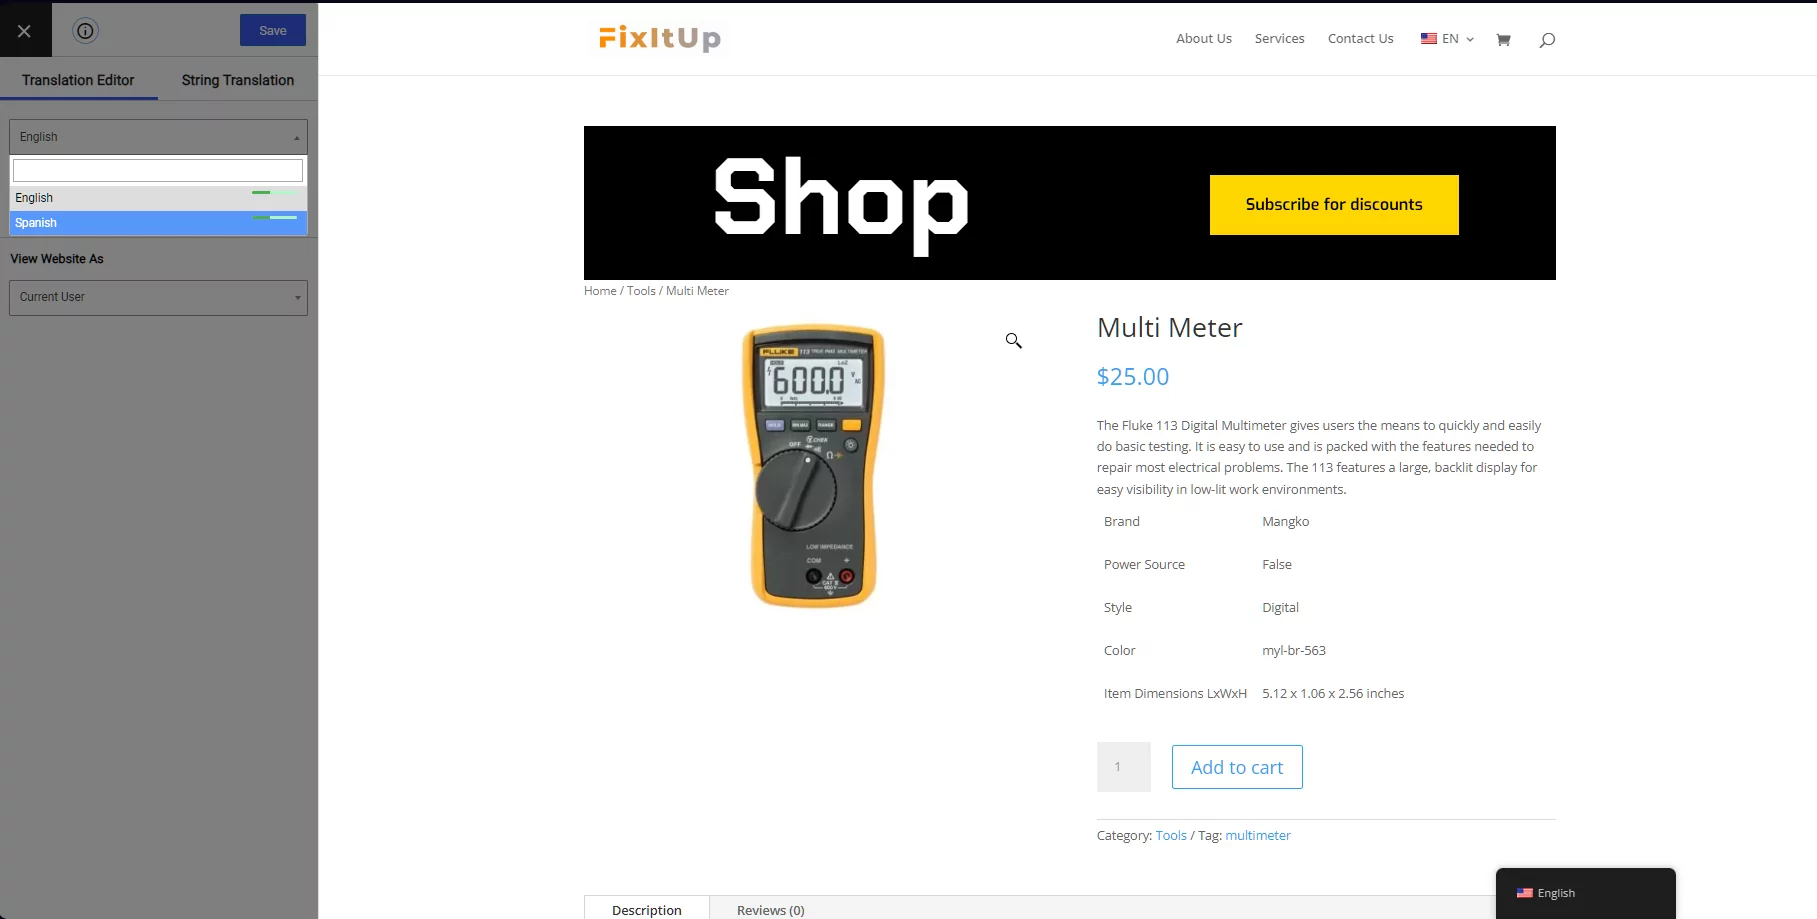
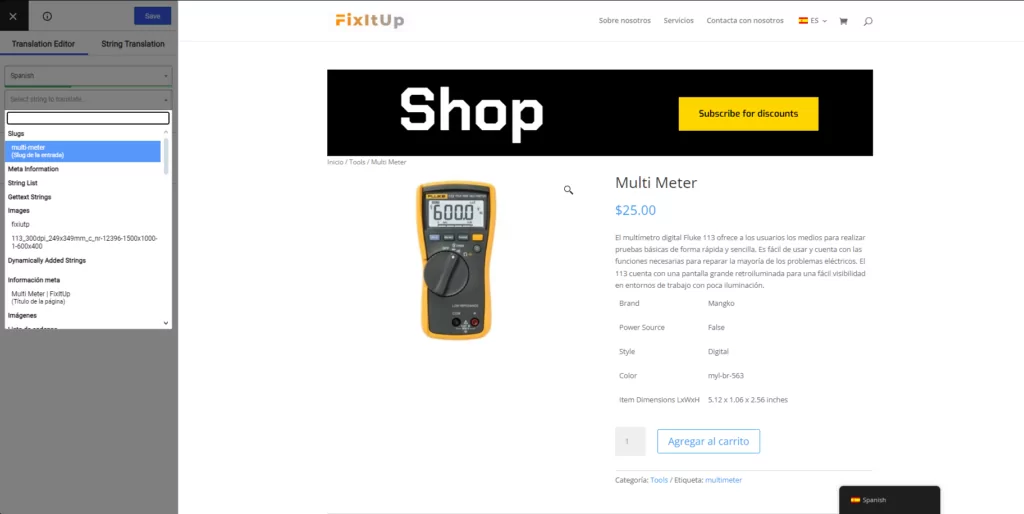
In the example below, you can see how the translation interface works. First, we select the target language from the menu in the top left corner:
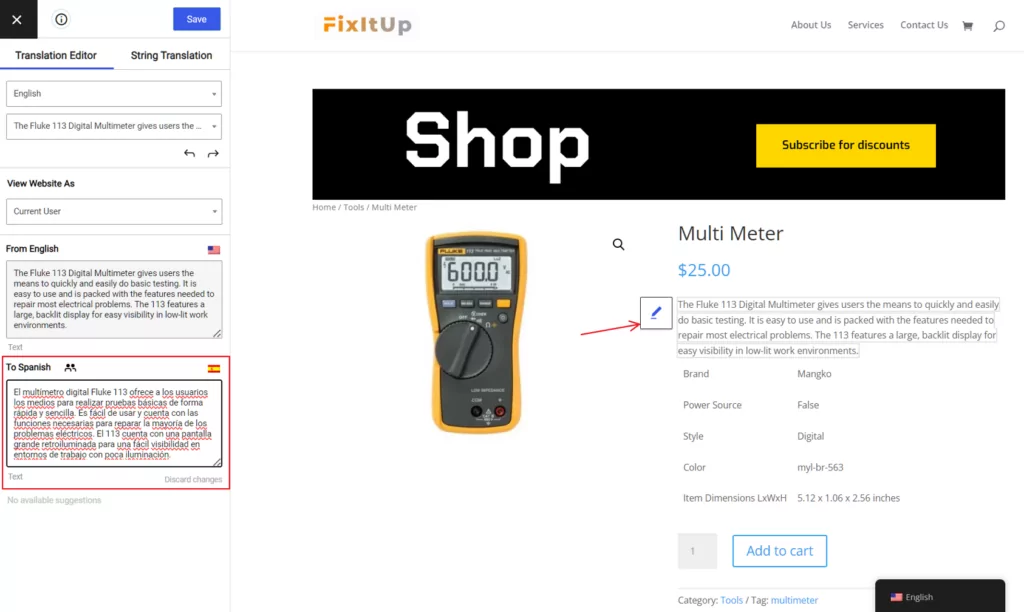
Then you can click on any text within the page and select the pencil icon to edit it. Doing so will trigger a new menu to the left, which is where you need to enter the translation. In the example below, you can see how we translate a product on the fly and see the changes immediately after switching to the site’s language:
Your job then is to translate every string within your online store. It’s not a fast process by any means, but it’s as simple as it gets from a technical standpoint. Keep in mind that once you’ve translated a certain string (like the word “SALE!”), TranslatePress will automatically replace its translation everywhere on the site, so you don’t have to do it twice.
To speed things up even more, you can take advantage of TranslatePress’ automatic translation (via Google Translate or DeepL). To enable it, navigate to Settings > TranslatePress > Automatic Translation and select Yes from the dropdown:
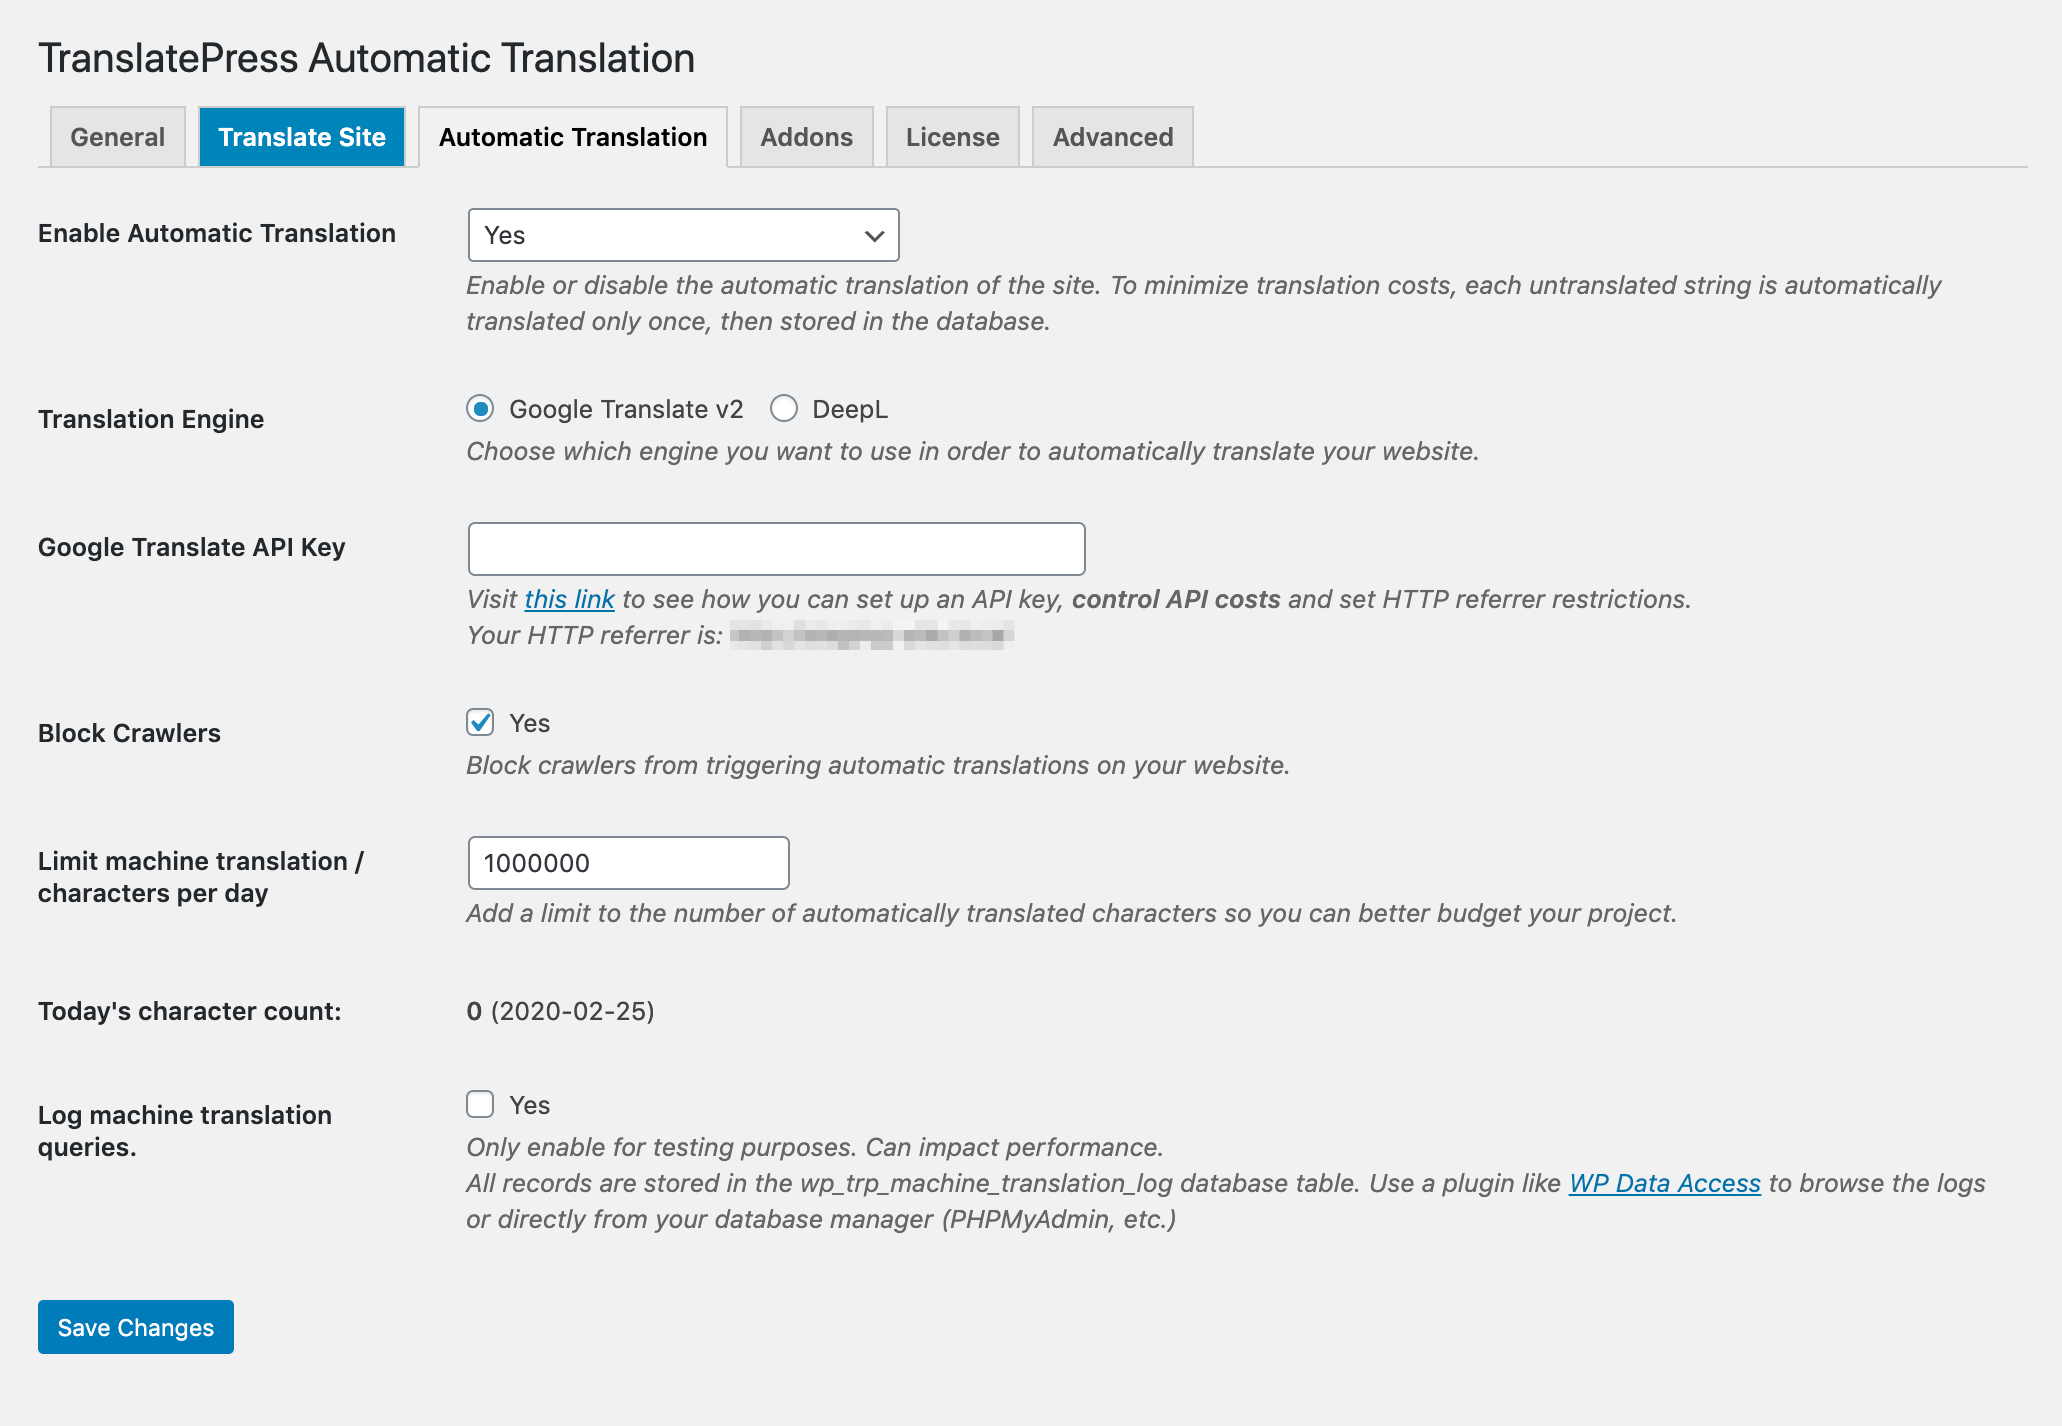
If you’re using Google Translate for example, you’ll then need to add a Google Translate API key. The plugin provides a link to instructions for retrieving one. Once you save your settings, the translation process is nearly instant and free, but not as accurate as a human in some cases.
It’s recommended that you come back and manually refine some of the automatic translations for improved quality. Being focused on speed, TranslatePress will only automatically translate your content once, then store it and load it from your database each time it’s needed. Besides optimal page load times, you’ll also save money by reducing automatic translation costs.
Step 8: Learn the Basics of Multilingual SEO
Translating your store’s content is the most critical part of taking your operation international. However, it’s important not to forget about multilingual SEO in the process.
If you don’t translate your product and page metadata, ranking in other languages becomes much more difficult. That means you’re losing out on the international audience you’re trying to target in the first place.
TranslatePress makes it really easy to translate your store’s most important SEO elements is with the SEO Pack add-on. With this extension, you can translate key elements such as product and meta descriptions, titles, slugs and more, all using the same front end editing interface:
Besides this, TranslatePress’ SEO Pack add-on integrates with popular SEO plugins (like Yoast, Rank Math, SEOPress etc.) and extends their sitemap functionality to help you automatically implement a multilingual sitemap that follows Google’s recommendations. This will make sure your multilingual E Commerce store content get indexed even quicker.
Although the SEO Pack is part of the premium versions of TranslatePress, it’s definitely an investment you should consider if you’re serious about maximizing your audience. Organic search is key to driving sales, and you don’t want to miss out.
Multilingual E-Commerce Wrap Up
In essence, participating in multilingual e-commerce is the equivalent of taking your business international. If you can manage all the additional work that involves (such as calculating shipping and taxes), then you can reap the benefits of serving a global clientele. First, however, you’ll need the right tools on hand.
WordPress offers a balanced solution for both simple and complex online stores, as we demonstrated in the eight steps this guide covered:
- Choose your CMS or website builder.
- Set up your CMS.
- Select the perfect e-commerce plugin.
- Configure your WooCommerce settings.
- Add your products.
- Install a translation plugin such as TranslatePress.
- Translate your WooCommerce content.
- Learn the basics of multilingual SEO.
TranslatePress Multilingual
Do you have any questions about using WordPress to set up a multilingual e-commerce store? Ask away in the comments section below!