In this post
In this post
A website language selector could be one of the most important tools you can add to your website. If you want to reach a global audience with your content, and give them the best possible user experience, you first need to ensure they can view your site in the correct language.
Language selector tools come in a range of different formats. You can add a text link to your site, a button, or a dropdown menu, depending on your preferences. Usually, you’ll find WordPress language selector tools located in the header or footer of a site.
Essentially, what these tools do is allow your users to instantly translate your content to their preferred language. Whether you’re running an ecommerce store, or a blog, your language selector tool will improve the user experience for your customers.
In today’s tutorial, we’re going to be looking at how you can add a website language selector to WordPress, and how you can use this tool effectively.
The Benefits of Using a Website Language Selector
The most obvious benefit of a website language selector is it allows your user to tailor their experience on your site to their needs. In any web design or development project, your core focus as a business owner should be to deliver amazing user experience. The better the “UX” of your website, the more likely your customers are to revisit your pages, and interact with your brand.
With a WordPress language selector, you can create a global site that offers customers a local experience. They’ll be able to choose which language they want to see your pages in at the click of a button. In some cases, you can even use automatic language selection features on your pages. This allows the site to detect a user’s location and convert your language automatically.
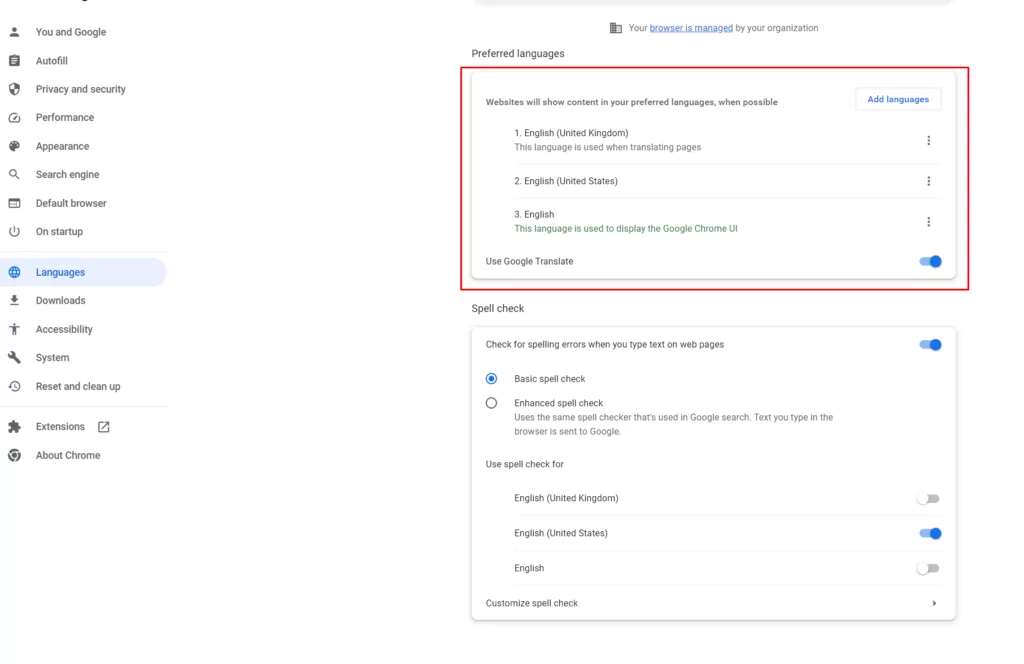
For instance, Google users with a Google account will automatically see all content presented in the language relevant to them based on their settings.
How to Add a WordPress Language Selector to your Site: 3 Ways
If you have your own WordPress site, the easiest way to add a language selector is with a plugin. The best plugin out there by far is TranslatePress. It gives you a range of different ways to add language selector tools to your pages, which we’ll cover below.
Here’s a quick rundown:
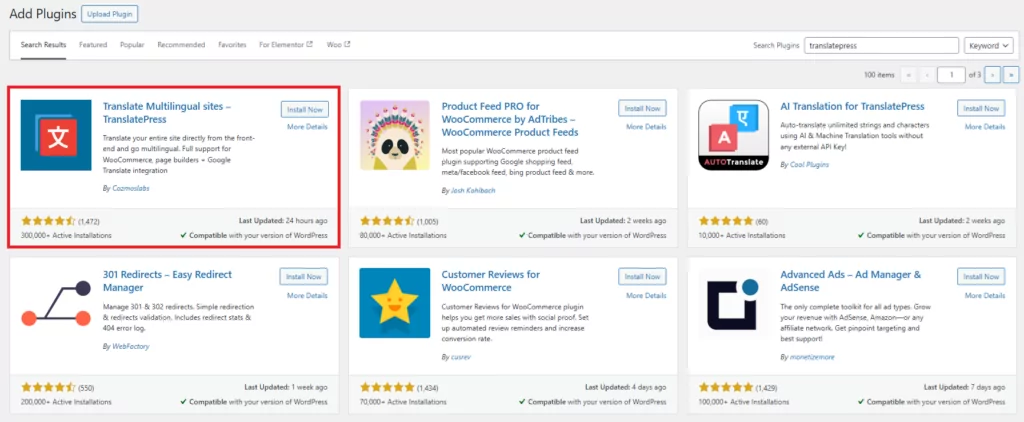
Step 1: Install TranslatePress
Before you start making changes to your site, of course, you’ll need to add the plugin. Go into your WordPress account, and click on Plugins. Using the search bar, type in “TranslatePress” then click Install followed by Activate.
After you’ve activated your new plugin, you’ll be able to translate your entire WordPress site easily, using an intuitive visual interface. The TranslatePress plugin supports the translation of everything from custom post types, to contact forms, and images containing text.
This user-friendly tool also works seamlessly with other popular plugins like Elementor or WooCommerce. The solution works by using DeepL or Google Translate to automatically translate content. You can also make edits to your translations once they’re created.
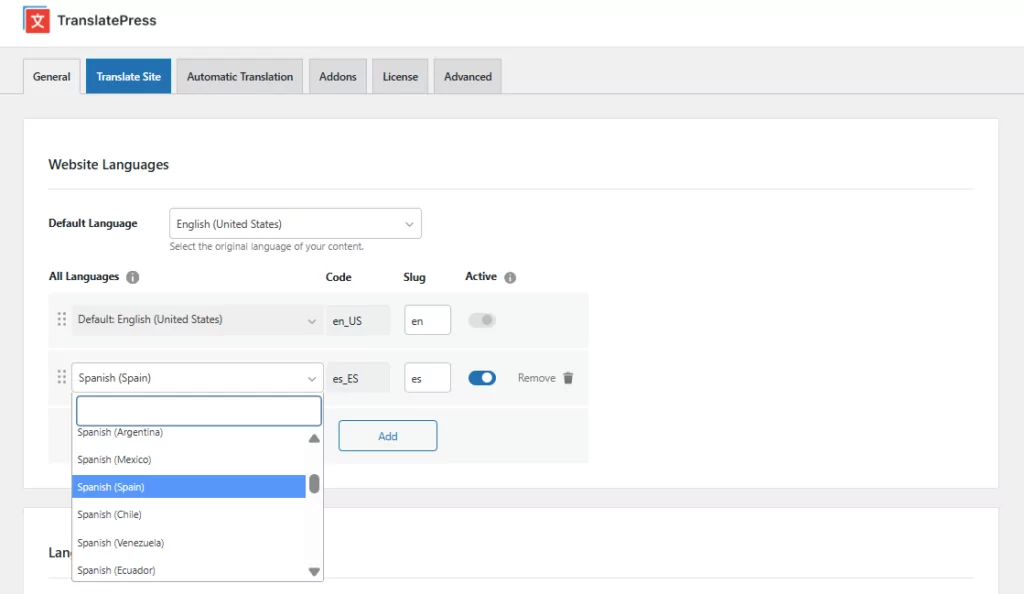
Step 2: Choose Your Languages
First, you’ll need to decide which languages you want to add to your website. Head into your WordPress Settings page, then click on TranslatePress. In the General settings page, you’ll be able to select your main language, then any other languages you want to add to your WordPress pages.
For this example, I’m using Spanish, but you can add as many languages as you like with TranslatePress premium.
Here are your options for setting up one of the three website language selector options offered by TranslatePress.
Step 3: Choose Your Language Selector
Once you’ve set your languages, scroll down the General page until you see the Language Switcher section. This is where you can choose how you’re going to add a language selector to your site. There are three options:
- Shortcode: This displays a language selector on any page or widget.
- Menu item: This allows you to add a menu item to your site with multiple languages to choose from.
- Floating language selection: This adds a floating dropdown that appears on all of the pages throughout your website.
Let’s take a closer look at each option.
1. Shortcode Language Selector
The shortcode language selector allows you to add a WordPress language selector to any part of your site which allows shortcodes. To access this functionality, scroll down to the Language Switcher section of the General page for TranslatePress and check the box next to Shortcode.
In the dropdown menu beneath, you’ll be able to determine how you want your language selector to appear. For instance, you can use flags with short or long language names, or just the names.
Select your option and click Save Changes. Next, use the

On the front-end, your site should show a new language button that opens a dropdown list on hover:
2. Menu Item Language Selector
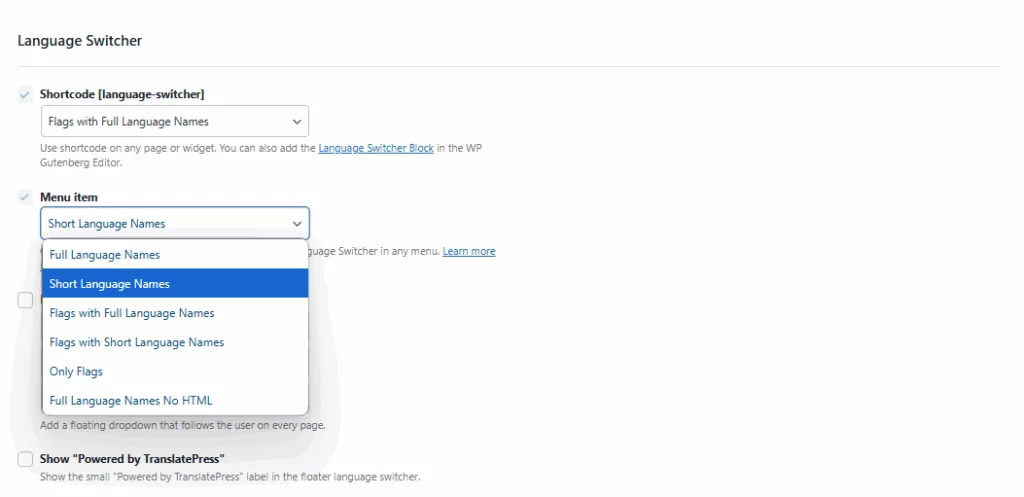
The menu item option will allow you to add language options to the navigation menu on your site. There are a few different options again for what the WordPress language selector will display. You can choose to show only flags, flags with long or short names, or just long or short names.
Select one of these options, then head into the Appearance → Menus to add the navigation option to your site. In the Edit Menus tab, just click on Language Switcher to check all the boxes for the languages you want. Next, click Add to Menu.
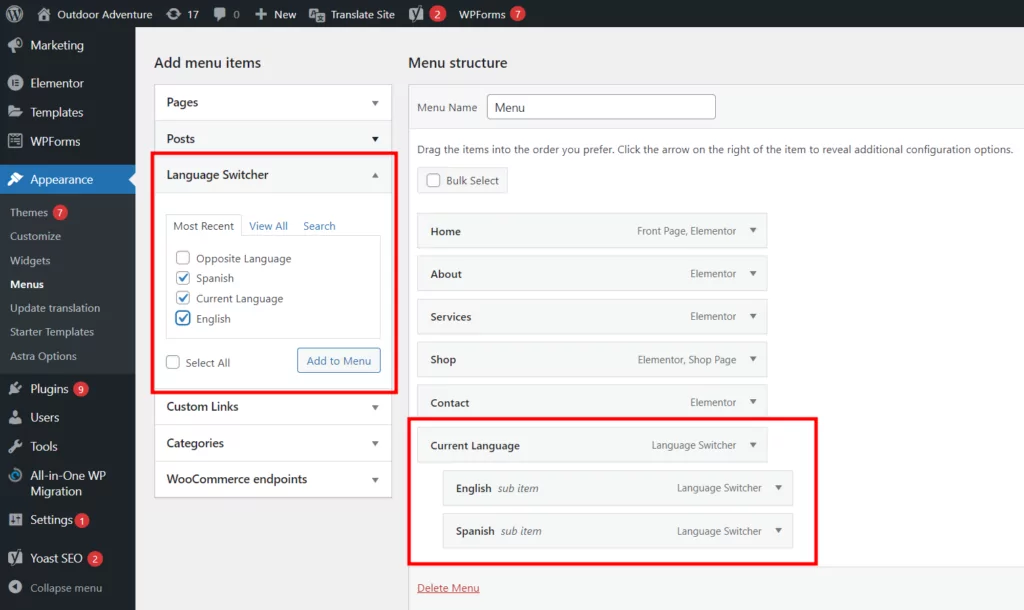
Adding the Current language item and the language items you’ve chosen for your menu will display a classic language switcher that opens up on hover.
You can also add the Opposite language option which will display a button for the secondary language only. For instance, if the primary website is in English, the button will only display “Spanish” and there will be no dropdown. This only works if your website is bilingual.
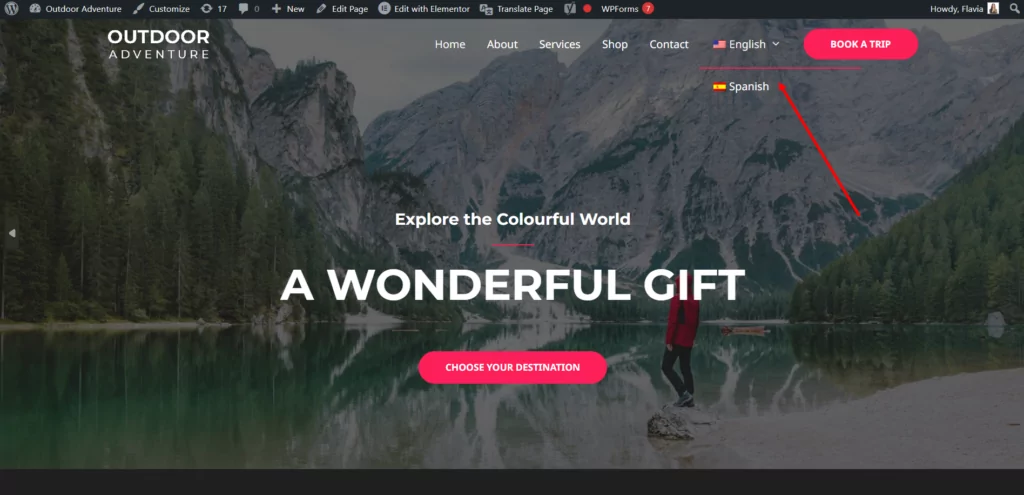
On the front-end of your website, you should see a new language switcher menu item, placed alongside your existing menu items.
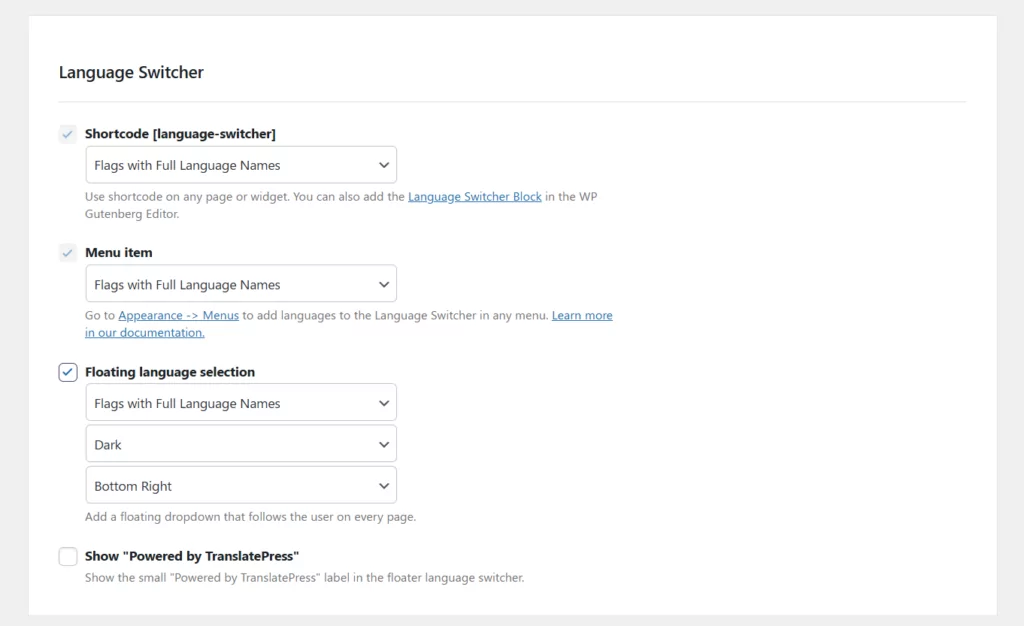
3. Floating Language Selector
Floating dropdowns on your store provide a convenient way for users to access their preferred language. They appear on every page of your website. With TranslatePress, you can choose how your floating selector is going to work and appear.
You’ll be able to pick whether you want to show the full language name, a short name, and a flag. Plus, you can opt for dark or light themes depending on your website’s design. There’s also an option to determine where exactly your language bar will be depicted.
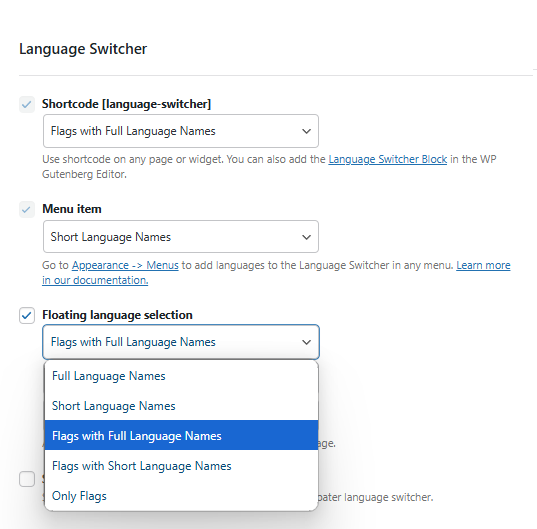
Make your choices, and click Save Changes.
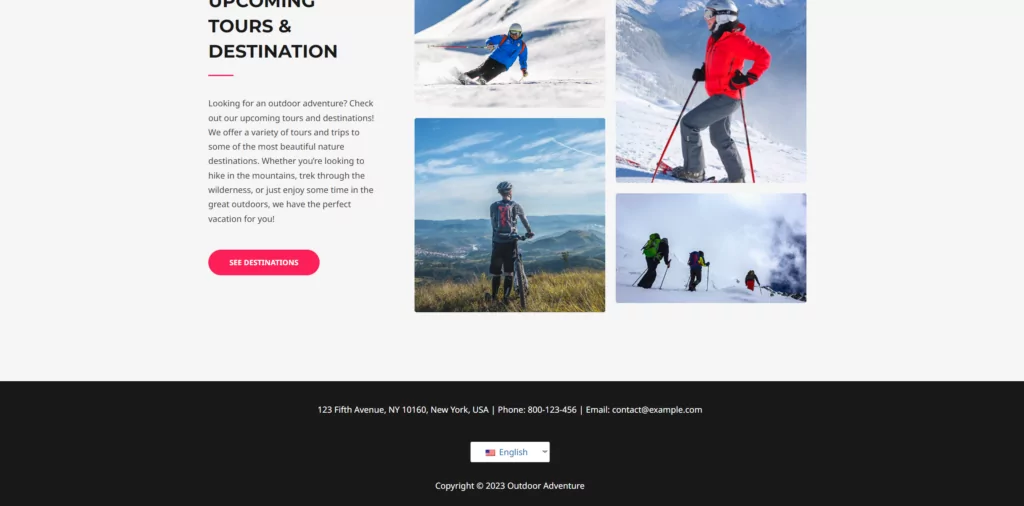
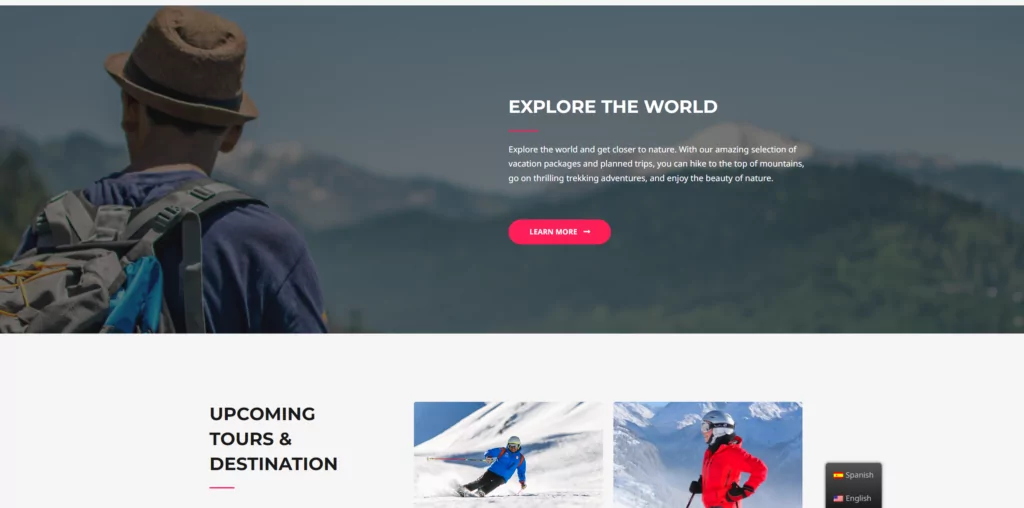
Once you’re done, refresh the front-end of your site, and you’ll see what the floating bar looks like for your visitors:

Pretty simple right?
No matter which of the three options you choose, you’re guaranteed to give your website visitors a better experience. Remember, you can also configure the rest of the settings in the Translate Press plugin. This will allow you to decide whether you want to use automatic machine translation or not. To do this go to Settings → Automatic Translation.
One your setup is complete, all you need to do is browse through your site, one page at a time, and they will be automatically translated. You’ll also be able to use the visual translation editor to select a certain piece of text and edit it if you’re not happy with the automatic translation. You can find more tips on how to create a multilingual WordPress site in this guide.
Top Tips for Using a WordPress Language Selector
TranslatePress makes it easy to create the ultimate multilingual website in no time. However, there are still some extra steps you might want to take to ensure your website language selector is as effective as possible. Here are some quick tips to get you on the right track.
1. Choose the Right Placement
TranslatePress gives you full freedom over where you’re going to place your website language selector. The best thing you can do is make sure it’s easy for your customers to find the tool. If your customers can’t find the language selector, they may just hit the back button.
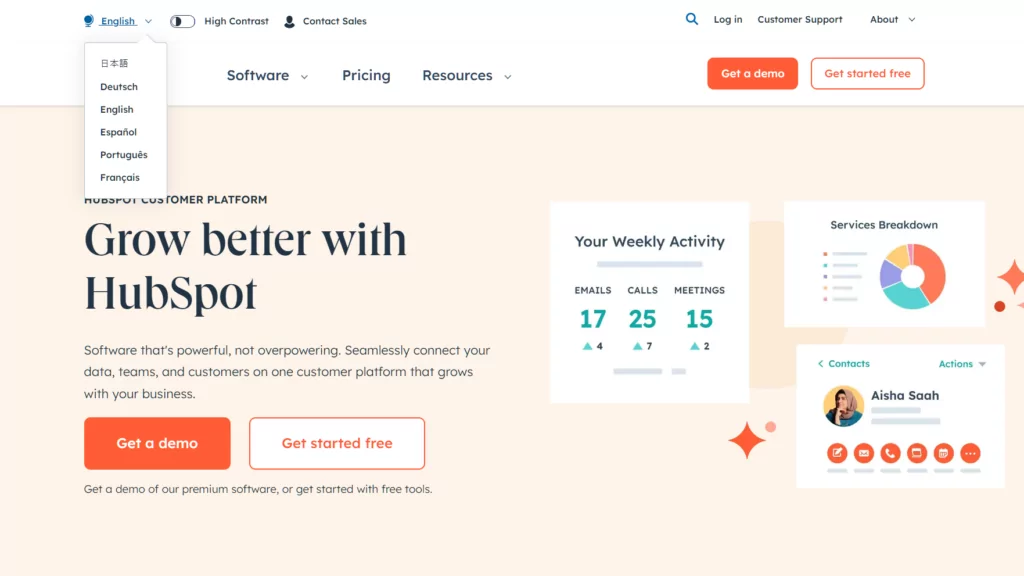
Most of the time, website users will expect to see language options at the top or bottom of their pages. Adding a language selector to your footer or header is usually a good idea. From a discoverability perspective, the bottom right of the page is usually the best option. However, there are no hard and fast rules here. It all depends on what works for your customers.
HubSpot has put their language selector on their top navigation bar.
2. Make Sure the Style Matches Your Site
Remember, every new widget or tool you add to your website should match your site design. From a UI perspective, it’s important to ensure everything is consistent. Pay attention to the colors, fonts, and overall appearance of your buttons and menus.
Some WordPress language selector tools require you to edit the CSS file for your website, or the theme to configure the button’s appearance. TranslatePress, on the other hand, uses your site’s existing design to generate a complementary language button. This means you don’t have to tweak any code yourself.
You could also consider adding a language button icon to your site, such as a globe or a speech bubble. However, if you’re showing a flag with the TranslatePress plugin, you shouldn’t need an extra icon to improve discoverability.
3. Display Language Names and Initials Correctly
After you add a language selector to your site, you’ll have the option to display a full name, or the abreviation of the language. Either option should be relatively simple for your visitors to navigate. But what is more important, is the option to list each language in its native format. For instance, instead of Spanish, you would use Español.

Readers that use a different alphabet, like Russian speakers for example, wouldn’t necessarily recognize the English versions of their languages immediately. Using the right format is key to improving user experience.
4. Keep it Simple
If you’re trying to develop a global website, it might be tempting to add as many languages as possible to your pages. TranslatePress does give you the option to add unlimited languages with the pro plans. However, it’s worth remembering a complex menu or button can negatively influence usability.
The more languages you include on your language selector, the longer the menu or button dropdown is going to be. Stick to just the languages you know your customers use at first. Remember, you can always add more languages into the mix later on, based on user feedback.
5. Try Automatic Language Detection
One of the best ways to improve the user experience on your site for your visitors is to reduce the amount of work they need to do. Implementing automatic language detection means they won’t have to worry about clicking buttons or finding selectors.
Automatic language redirection allows the site to automatically perceive where the user is based on IP or browser settings. This way, the solution can translate the language without any further actions by the user.
ASOS is a great example of a brand that has leveraged this automatic approach. The store will automatically detect your location, and serve you content based on where you are.
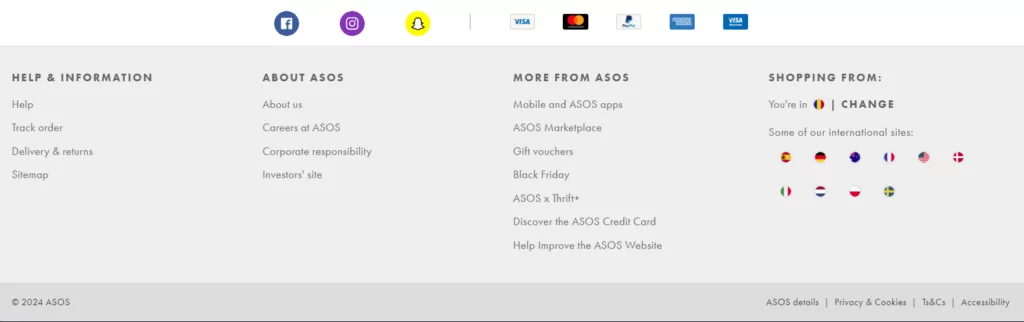
If you want to do the same thing on your site, you can implement it with the TranslatePress Automatic Language Detection function.
Easily Add a WordPress Language Selector to Your Site Today
Adding a website language selector to your website is an excellent way to improve user experience. You can ensure every visitor to your site, wherever they come from, can customize their experience to suit them. The result can be more sales and a better brand reputation.
Fortunately, TranslatePress makes it quick and simple to add language selectors to your site in no time. You can choose from a range of different options. Plus, you can customize your language selector however you choose.
TranslatePress Multilingual
Do you still have any questions about website language selectors? Let us know in the comments section below!